Choose an original with room to work
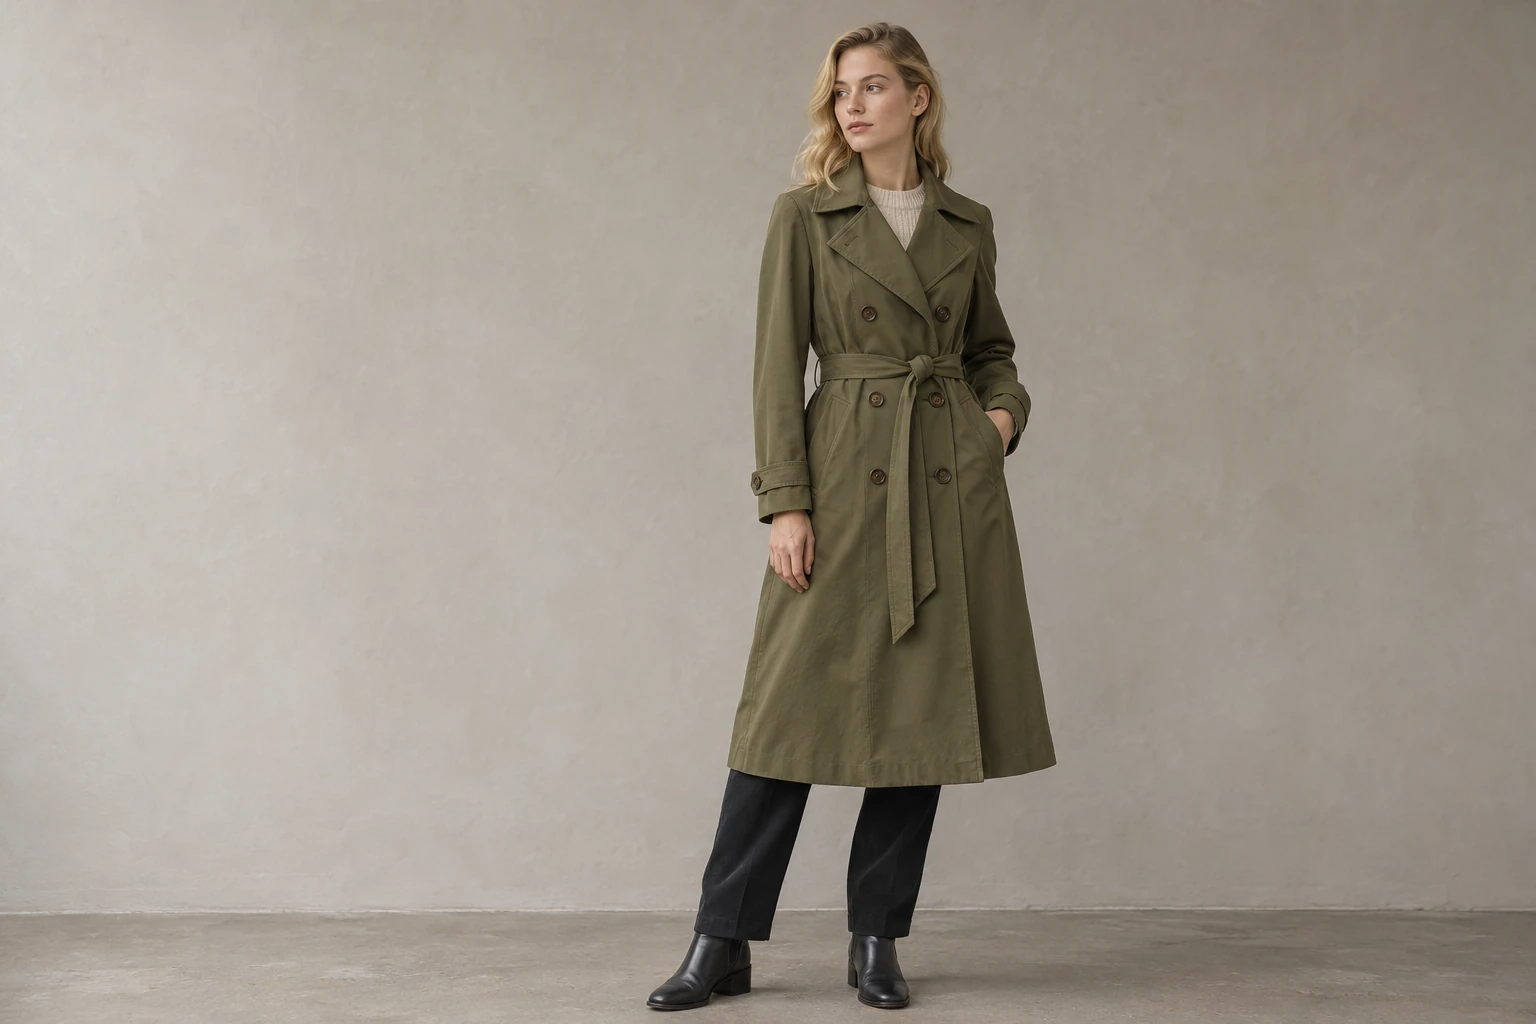
Start with a photograph where the subject is sharp and its outline is easy to distinguish. For a full-length fashion picture, include the shoes, coat hem and a little floor around the feet. A cropped sleeve or missing shoe gives the model less information to preserve. Choose the pose and camera angle before you start: changing both the pose and background makes the comparison harder to judge. A simple studio wall is useful, but it is not required. A photo with an existing setting can also be edited. Save the original separately and use that same file for every new scene, so small changes from one result do not accumulate in the next.
Describe a place the subject could stand in
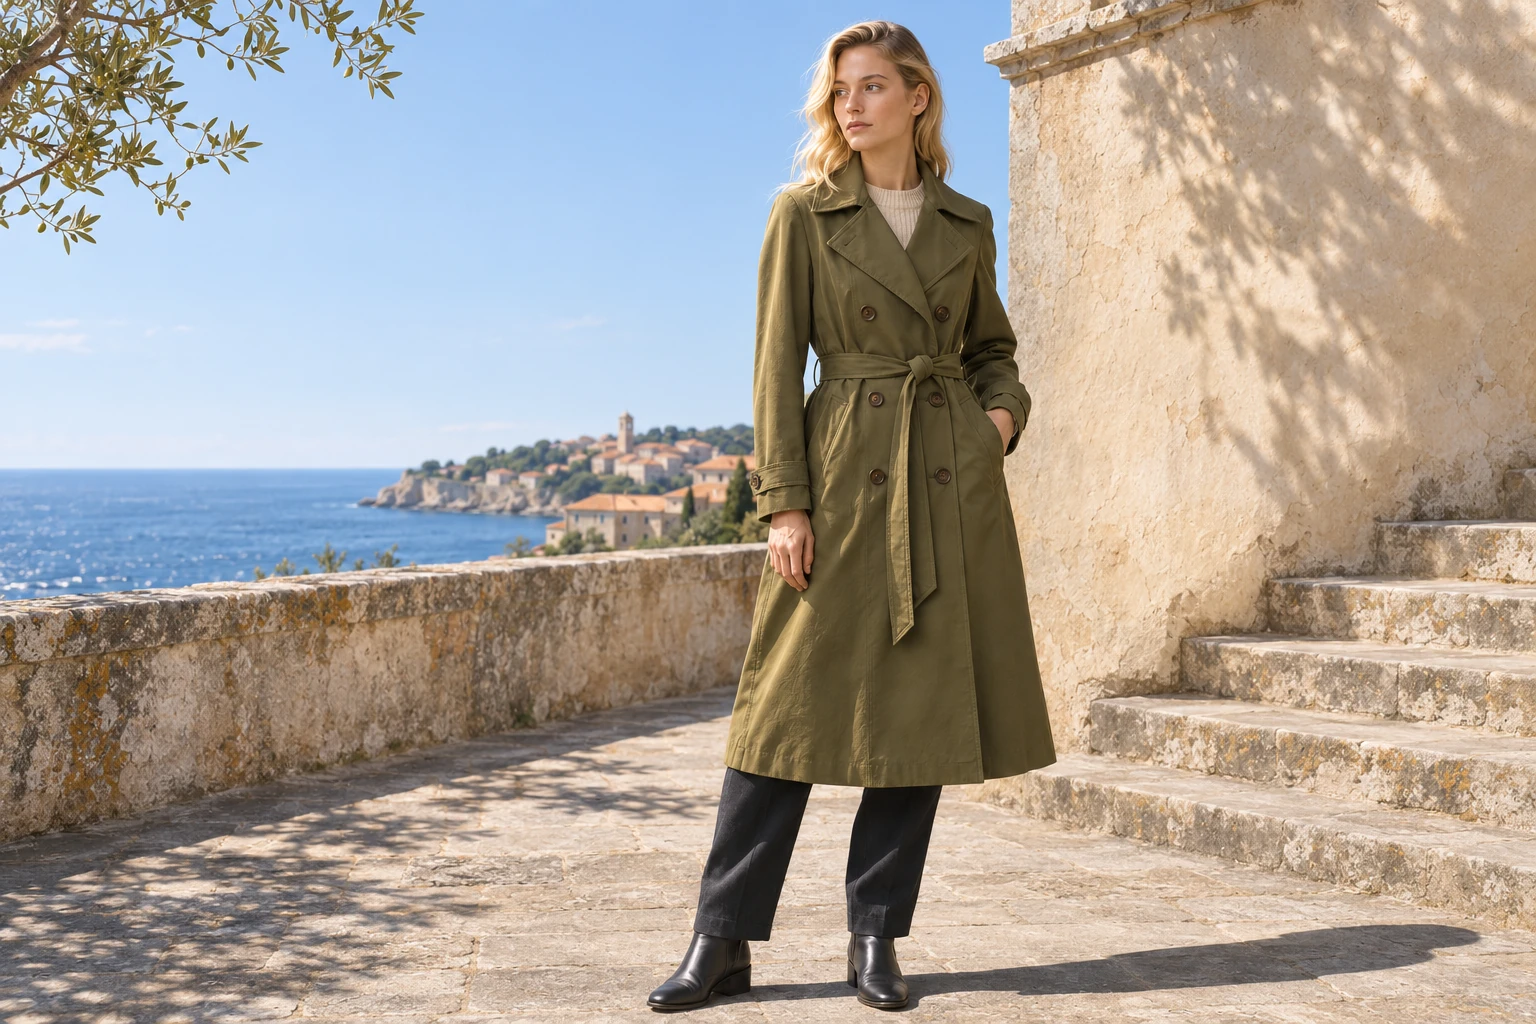
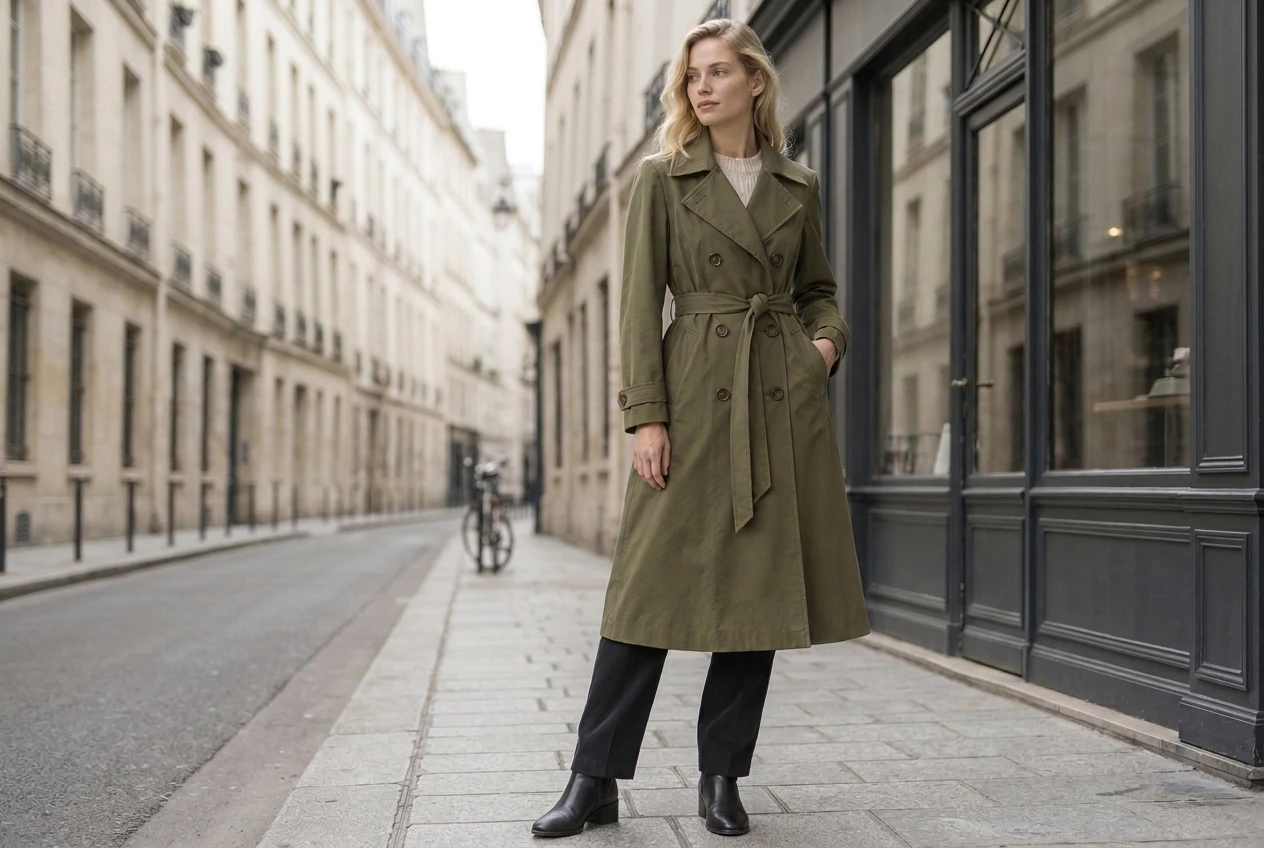
Give the model a physical setting, not just a mood word. A quiet Paris sidewalk beside a dark café window is more specific than a stylish city. Describe the surface under the subject, the nearest wall and one or two elements in the distance. Those details establish scale and depth. Leave enough space for the existing pose, especially when a person is leaning, sitting or holding an object. Keep busy signs, railings and strong lines away from the face and clothing details. You can ask for a patterned wall or textured surroundings; the important part is how their scale and perspective fit the original photograph.
Match the direction of the light
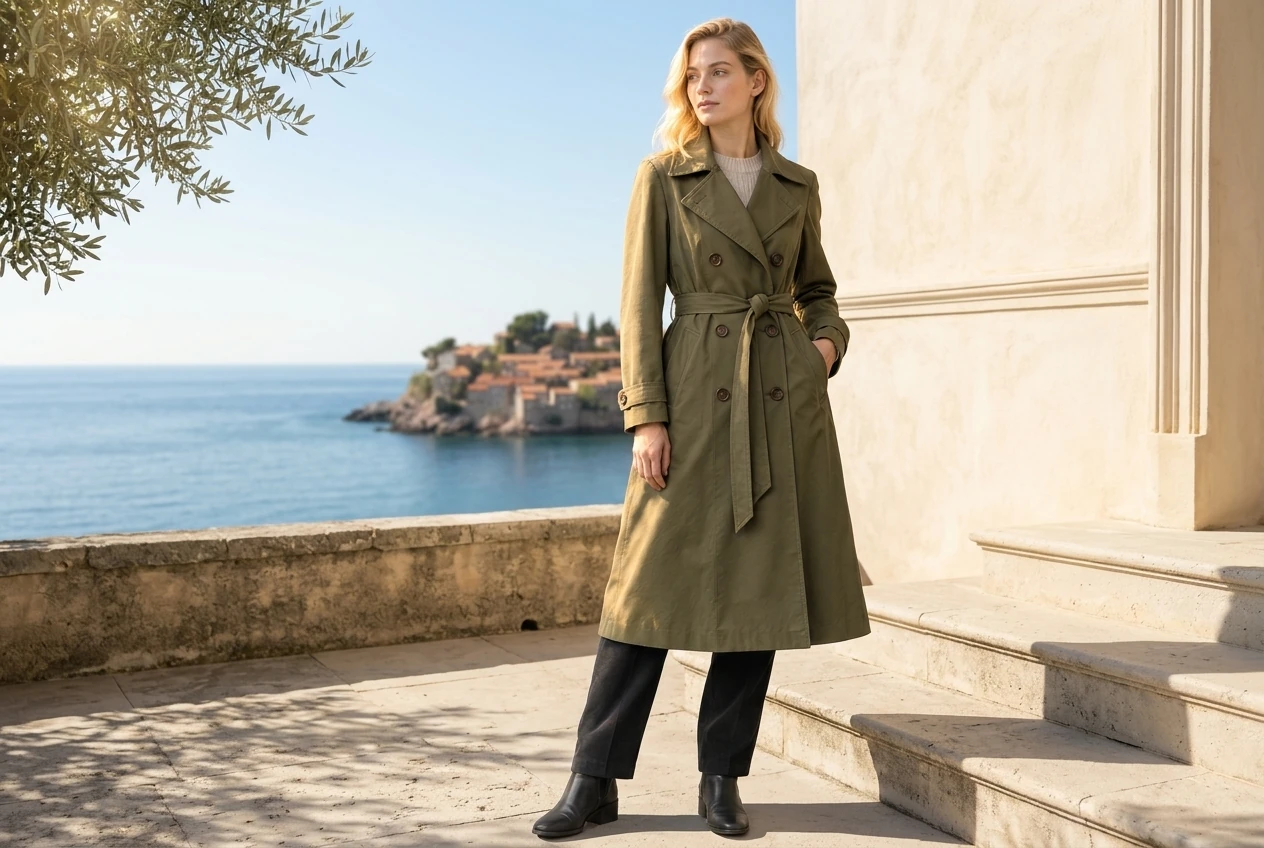
Look at the original face, sleeves and floor shadow to understand where the light comes from. If the left side is brighter, begin with a scene lit from the same side. Soft daylight is a useful first choice because it usually needs a gentler transition than direct sun. For a sunny terrace or autumn park, request light on the subject as well as the background. Ask for a matching cast shadow, gentle sky fill and believable highlights on the fabric. A bright background behind a completely unchanged studio-lit person can look pasted together. Relighting helps the scene feel coherent, but it can also change the apparent color of the garment.
Check the feet, horizon and nearby objects
The ground is often where a background edit succeeds or fails. Check that both feet meet the surface, that the shadow begins at the contact point and that paving lines recede in a consistent direction. A shadow floating away from the shoe can make the person appear suspended. Compare the height of windows, steps and doors with the subject. On a coastal scene, keep the horizon away from distracting intersections with the face. Reflections in wet paving should support the setting without duplicating limbs or adding extra objects. Inspect the image at full size as well as thumbnail size; a convincing small preview can hide an awkward edge or perspective mismatch.
Review clothing and product details separately
A background can look attractive even when the subject has drifted. For a trench coat, compare the lapels, button count, belt buckle, sleeve tabs, pocket openings and hem length. Check the face and hairline independently from the outfit. For a packaged product, inspect the silhouette, cap, label layout and each readable character. Ask the model to preserve these details, then judge the actual output rather than assuming the instruction was followed perfectly. Generative editing is not a pixel lock. If your listing needs exact label artwork or a completely unchanged garment, use the result as a visual direction and finish the subject with a controlled masking and compositing workflow.
Make one useful change at a time
Use the scene presets as editable starting points. If the first result feels too busy, simplify the background before changing the lighting, camera angle and color palette together. If the person looks detached from the scene, refine the ground contact and light direction first. Keep a short note of the prompt, selected model and output settings for versions you like. The comparison above uses the same studio reference for all seven GPT Image scenes, so the setting is easy to compare. The two Nano Banana examples show a different model working from that same source. They are examples of possible results, not a promise that every upload will reproduce the same details.
Choose an output for the way you will use it
Match the output aspect ratio to your original when comparing backgrounds. A different ratio can encourage extra surroundings or a new crop, making subject consistency harder to assess. For a store banner, plan where the image will be cropped and leave quiet space for text that you add later. For a portrait post, keep the face and garment inside the final display area. Choose a model and review the credit estimate before generating; reference images contribute to the displayed cost. Selecting a scene only loads its prompt and does not start generation. Download a result you want to keep before making another version, and retain the original alongside the exported image.