Botanical setting
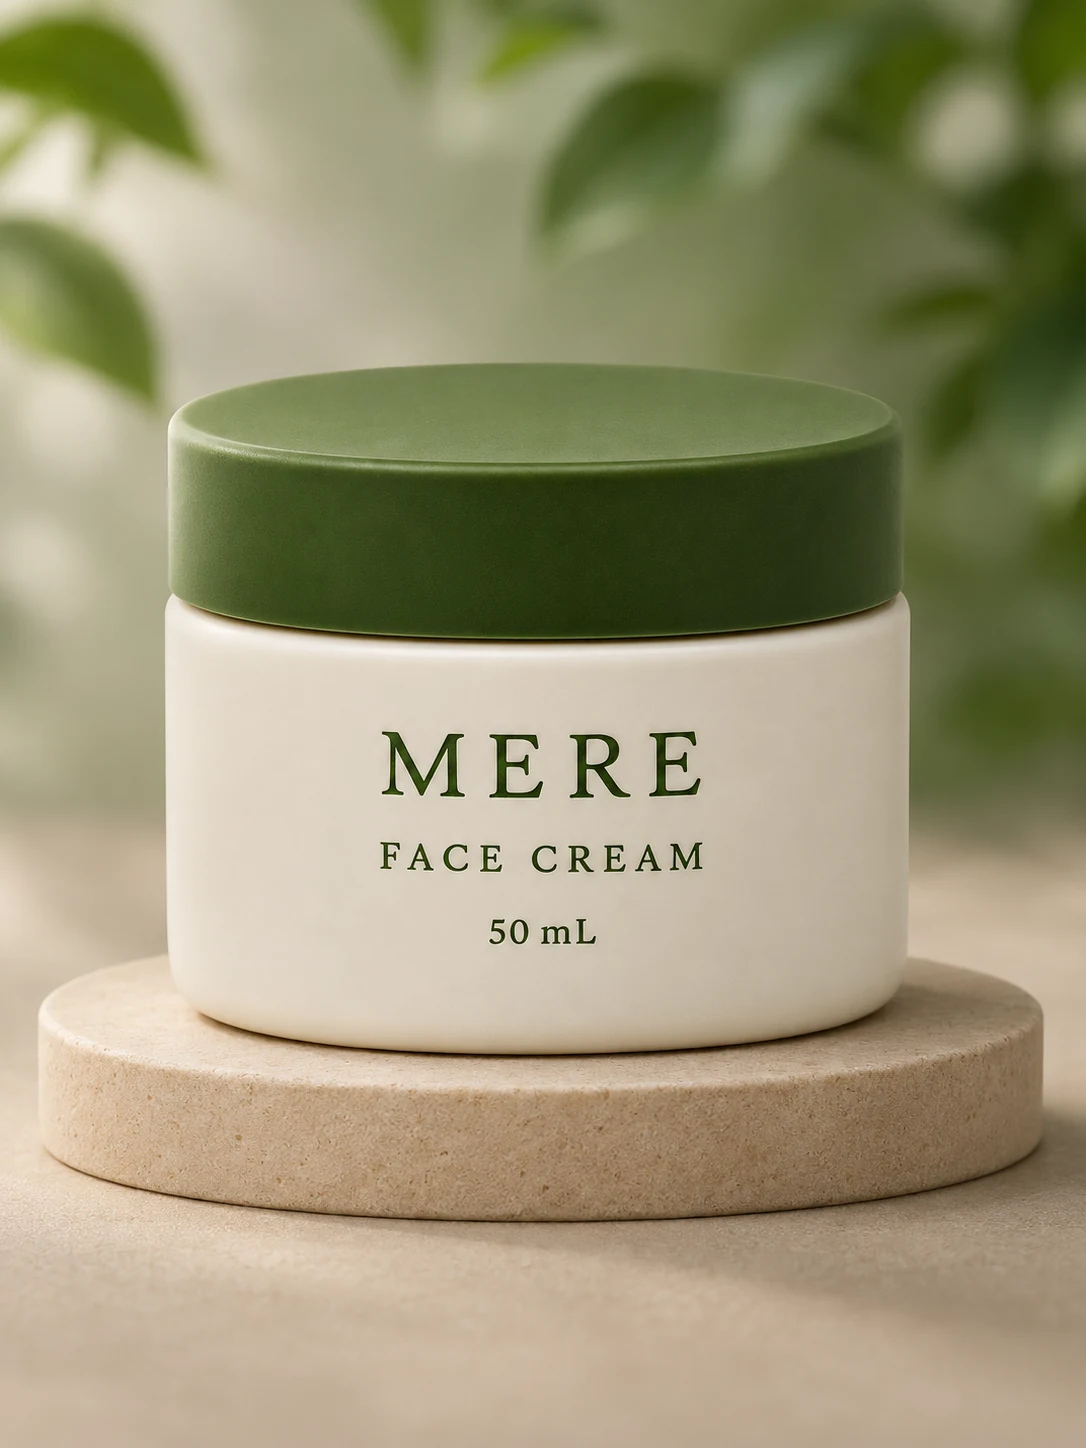
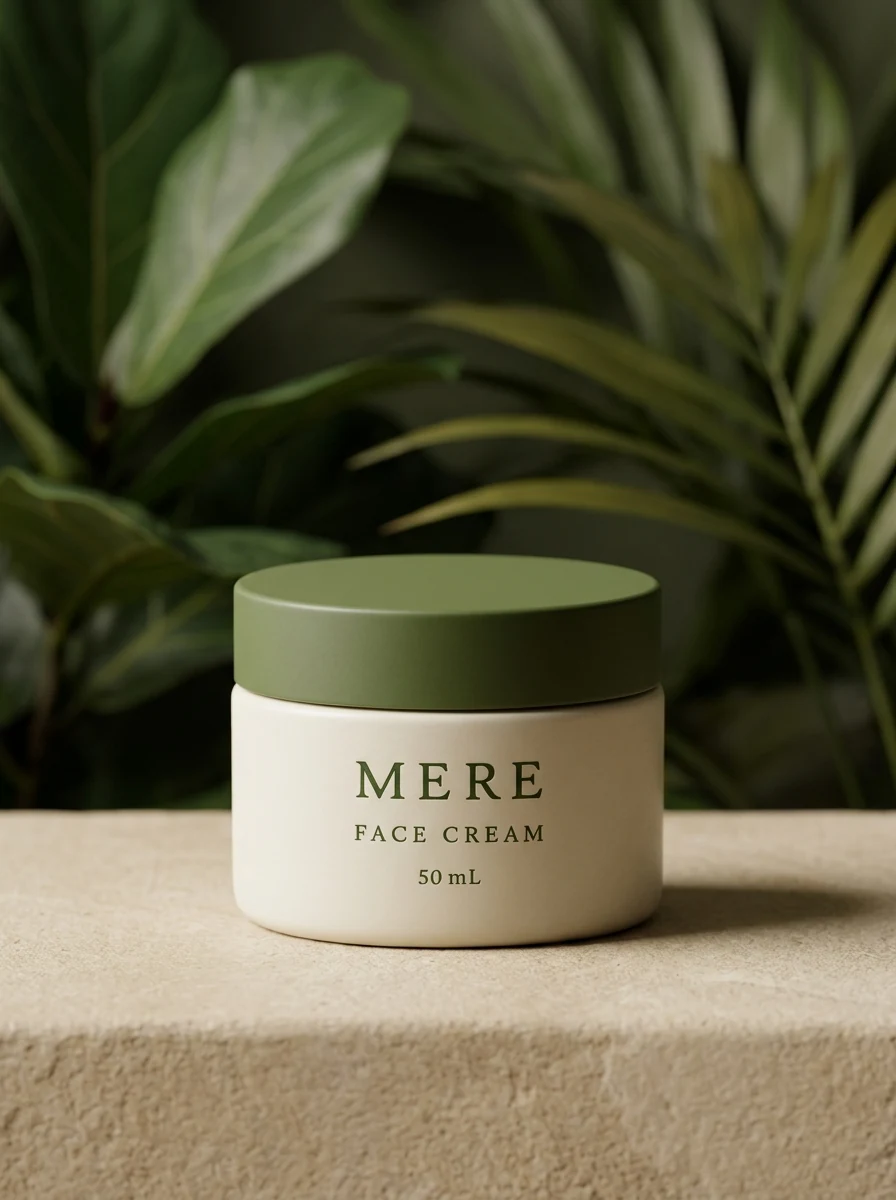
GPT Image fills more of the frame with the jar and label. Nano Banana shows more foliage and a stronger side shadow.
AI Product Photography Generator
Upload your product. Describe the setting, light and composition.
Nano Banana 2.1 requires a paid plan or credit pack.
25 credits · Nano Banana 2.1 · 1K
Sign in to generate.
Your next product scene starts here
Upload a clear product photo, choose a scene below and refine the prompt. Your generated image will appear here.
One product. A new setting.
Bring your product photo. Build the setting around it with editable scene prompts, lighting directions and a format that fits your next placement.
Updated
AI product photography helps you explore a visual direction using a photo of the item you actually sell. Start with your packaging, then describe the surface, backdrop, props and light. Use a neutral studio setting for a focused composition or a lifestyle scene to give the product context. This generator lets you edit the prompt, add reference images, choose an aspect ratio and select an output resolution. Treat each result as a creative draft: compare labels, colors and proportions with the original before putting it in front of customers.
Create your product photoSee how GPT Image and Nano Banana interpreted the same reference photo and scene prompt. These are individual AI examples. Your results will vary.
GPT Image fills more of the frame with the jar and label. Nano Banana shows more foliage and a stronger side shadow.
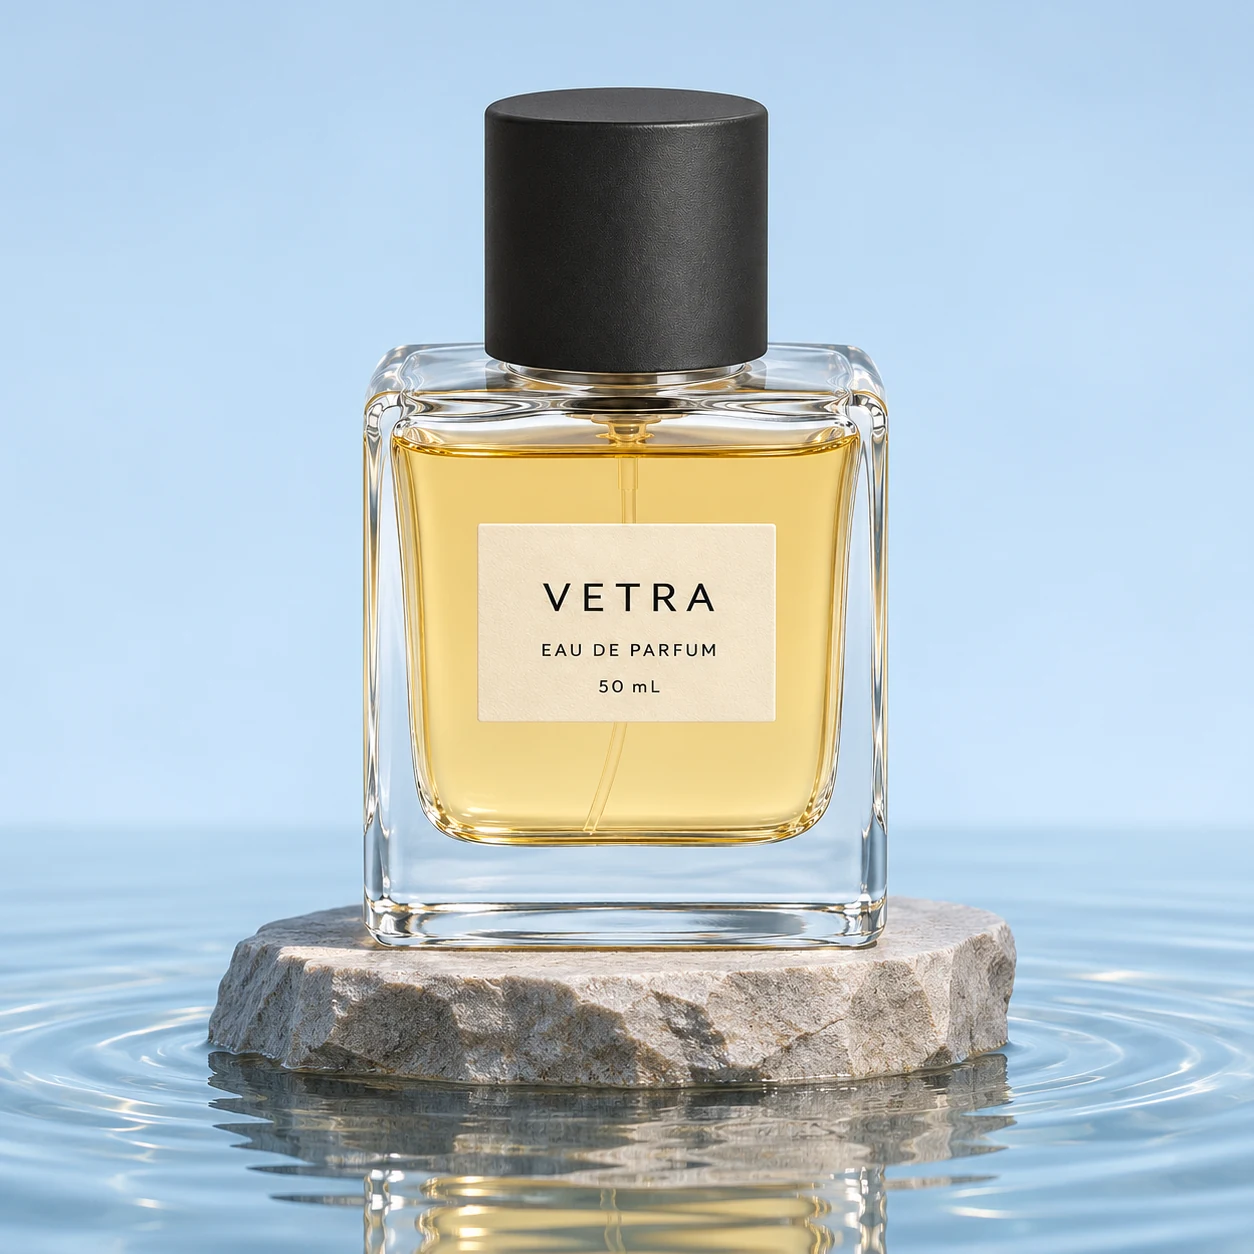
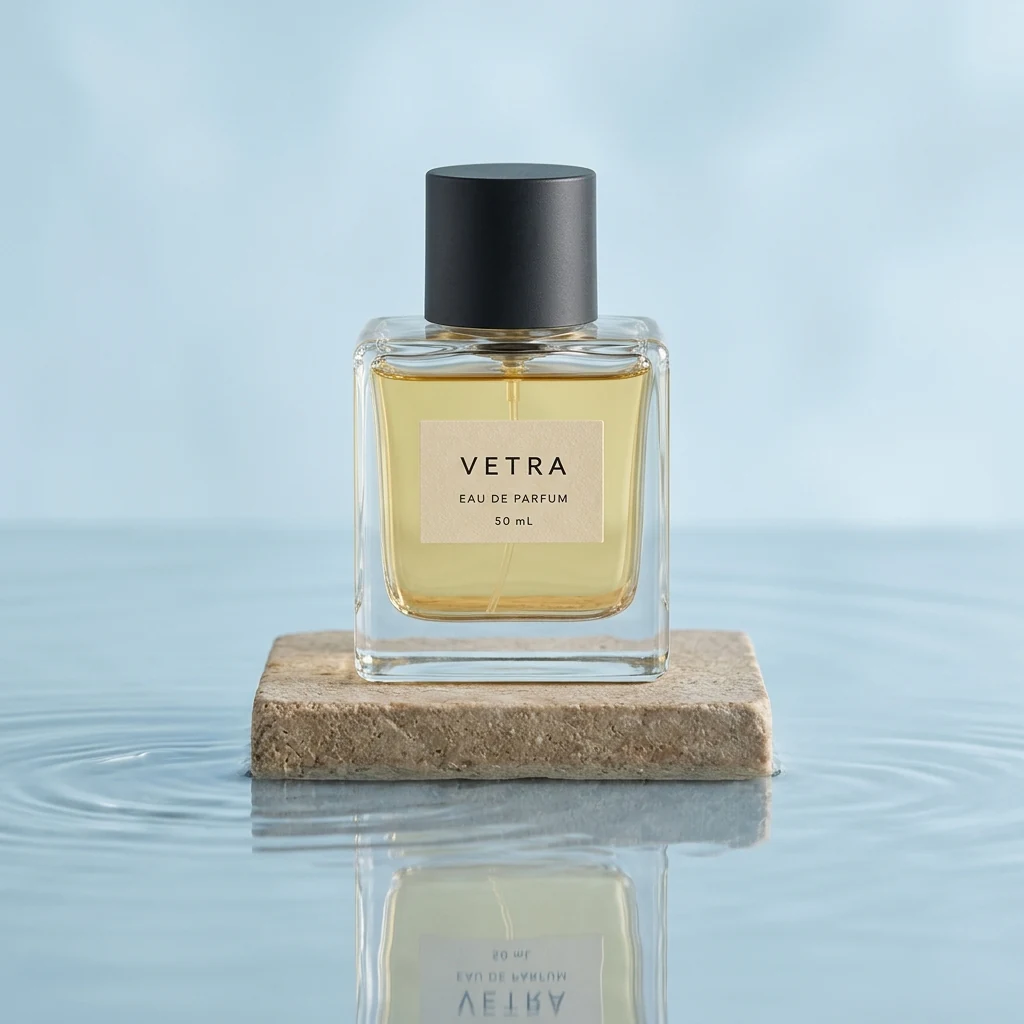
GPT Image gives the bottle and its label more room in the frame. Nano Banana leaves more water in view, including the inverted label in the reflection.
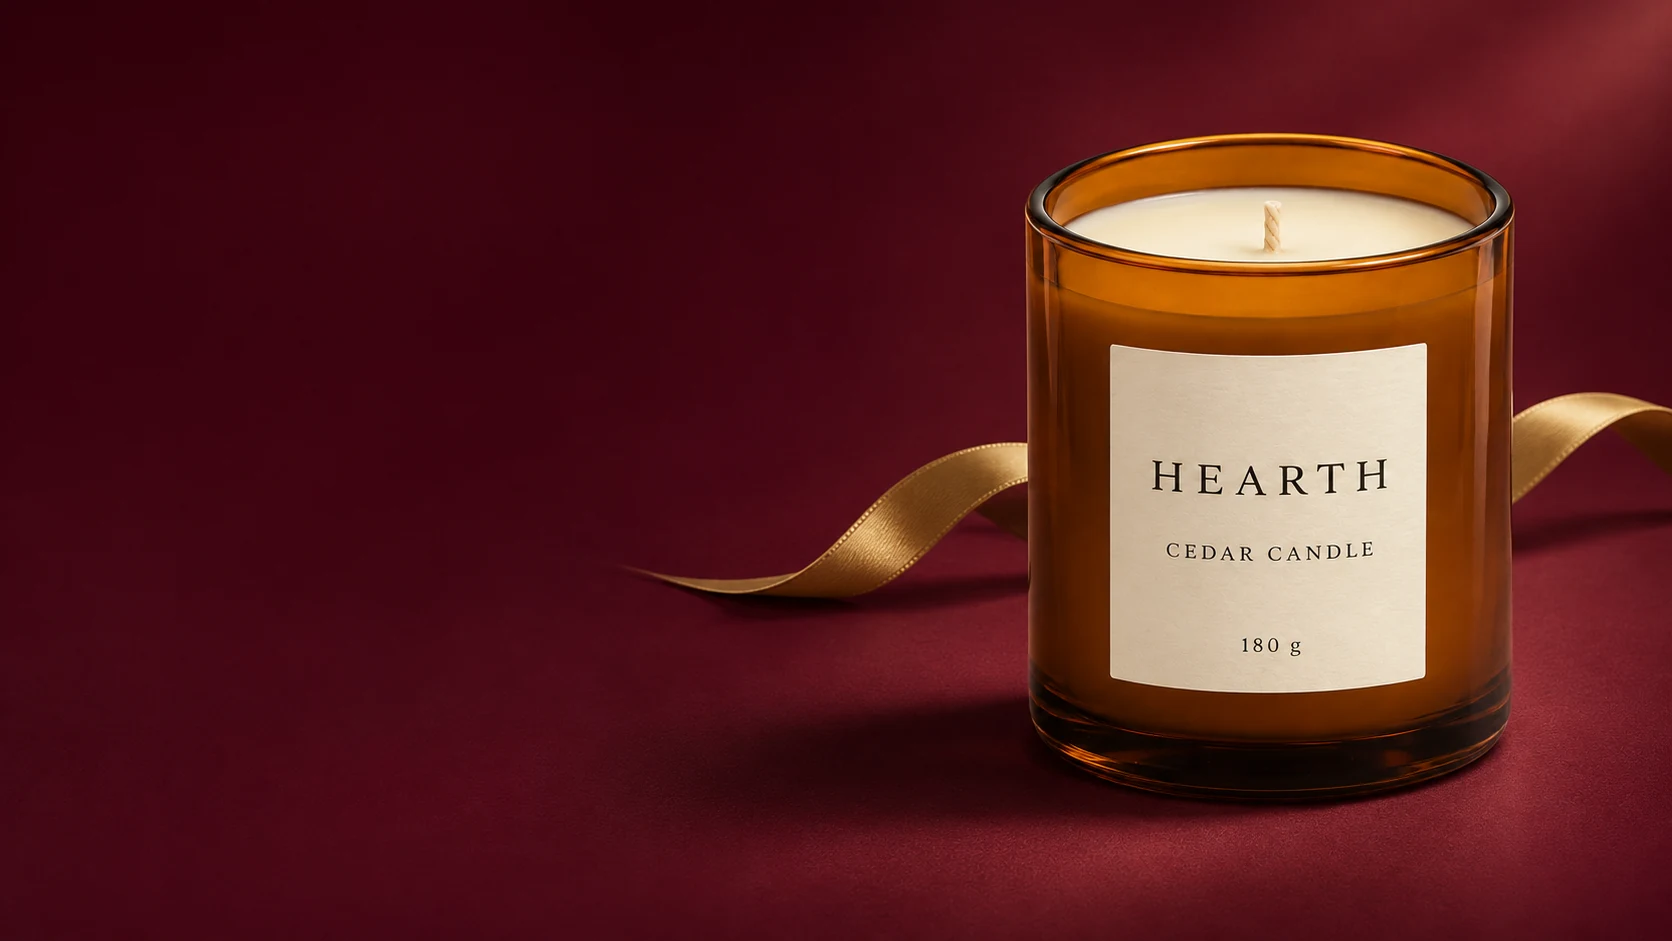
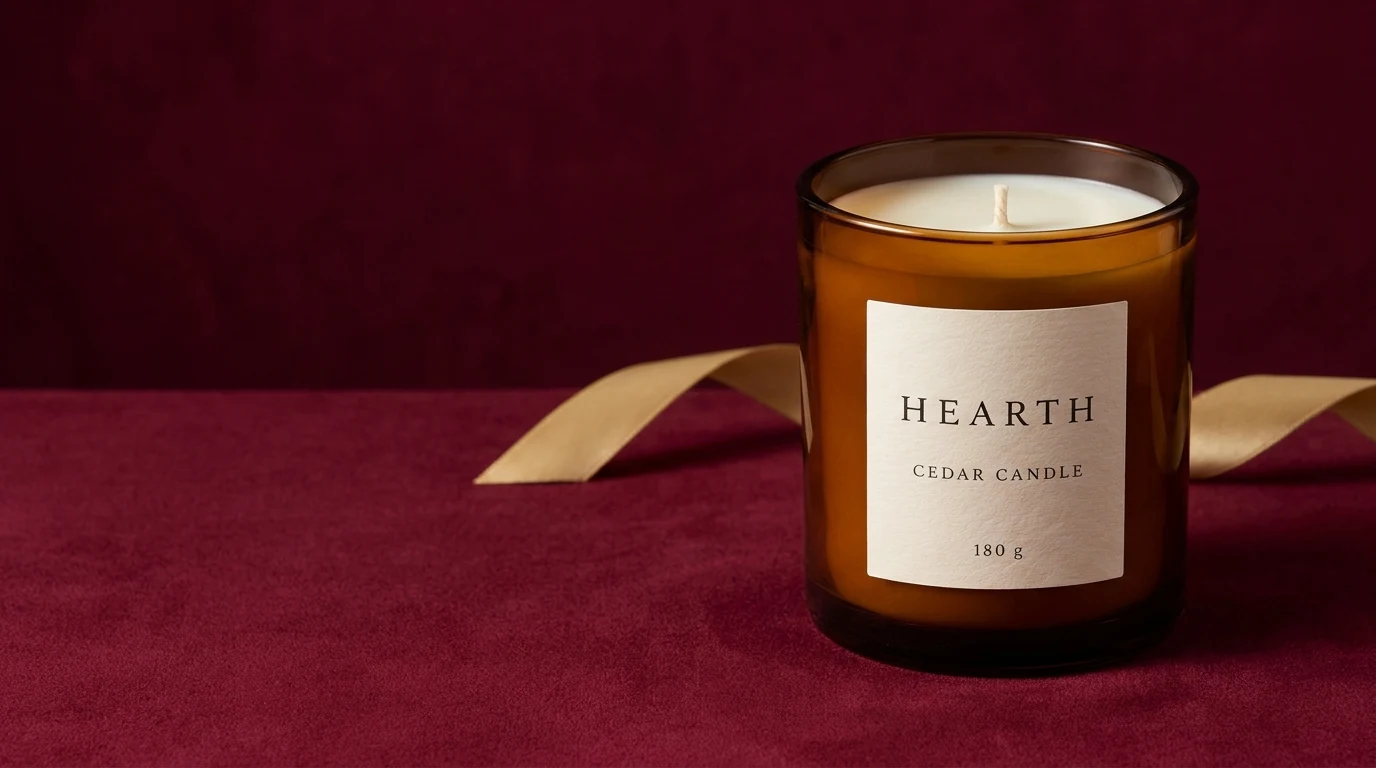
Both place the candle to the right. GPT Image keeps a darker, more uniform area for copy on the left. Nano Banana gives the ribbon and textured fabric more presence.
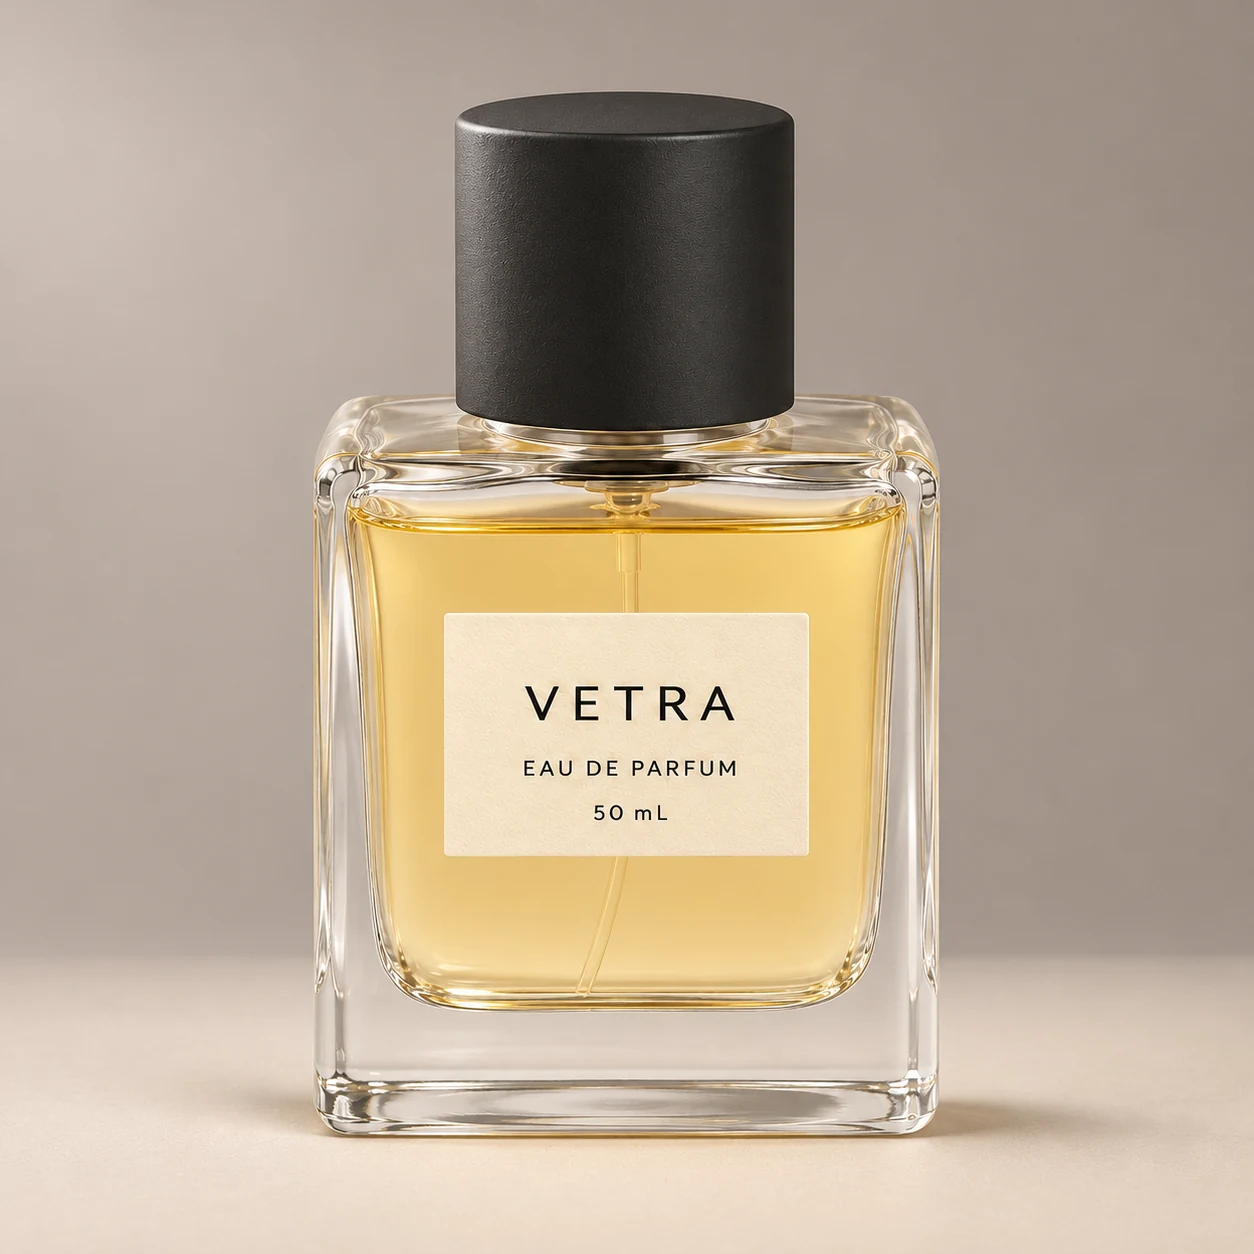
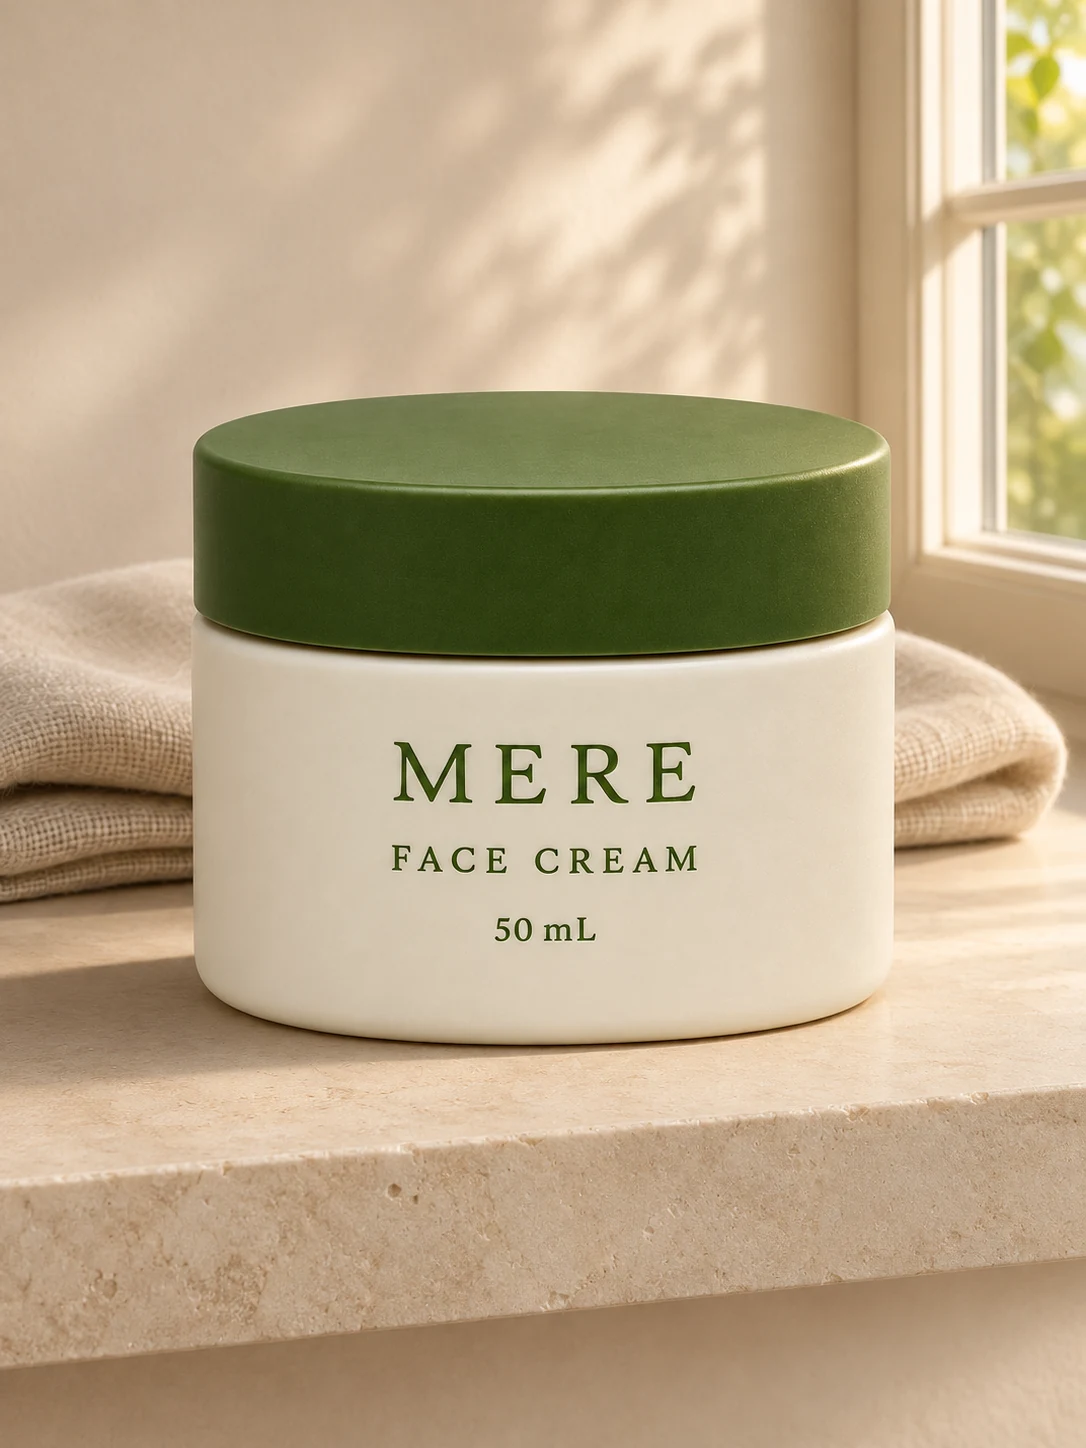
These editable prompt recipes set a direction. Loading a scene does not upload a photo or spend credits.
01 / 1:1
A quiet backdrop for a product-focused composition.
Use the uploaded product photo as the reference. Preserve the product silhouette, proportions, packaging colors, material and label layout as closely as possible. Keep the product fully visible and in focus. Do not invent text, logos, accessories or extra packaging. Place the product upright on a matte ivory surface with a warm gray seamless background. Use a large softbox from the upper left, a subtle contact shadow and gentle highlights. Eye-level camera, centered composition, no props.
02 / 3:4
Soft daylight for skincare, candles and home goods.
Use the uploaded product photo as the reference. Preserve the product silhouette, proportions, packaging colors, material and label layout as closely as possible. Keep the product fully visible and in focus. Do not invent text, logos, accessories or extra packaging. Place the product on a pale stone shelf beside a window. Soft morning light enters from the right, with a gradual shadow to the left. Use a warm off-white background and one folded linen cloth behind the product. Keep the label unobstructed.
03 / 3:4
Greenery and natural textures around a clear focal point.
Use the uploaded product photo as the reference. Preserve the product silhouette, proportions, packaging colors, material and label layout as closely as possible. Keep the product fully visible and in focus. Do not invent text, logos, accessories or extra packaging. Create a product still life on a low sand-colored plinth. Frame the background with out-of-focus green leaves. Keep all foliage behind the product and away from its label. Use diffused side light, restrained green tones and realistic contact shadows.
04 / 1:1
A reflective surface for a fresh campaign concept.
Use the uploaded product photo as the reference. Preserve the product silhouette, proportions, packaging colors, material and label layout as closely as possible. Keep the product fully visible and in focus. Do not invent text, logos, accessories or extra packaging. Place the product on a dry stone pedestal above a shallow pool of clear water. Include gentle ripples and a physically plausible reflection. Use cool daylight and a pale blue background. Keep the packaging dry and the product shape unchanged.
05 / 4:3
An everyday setting with the product still in focus.
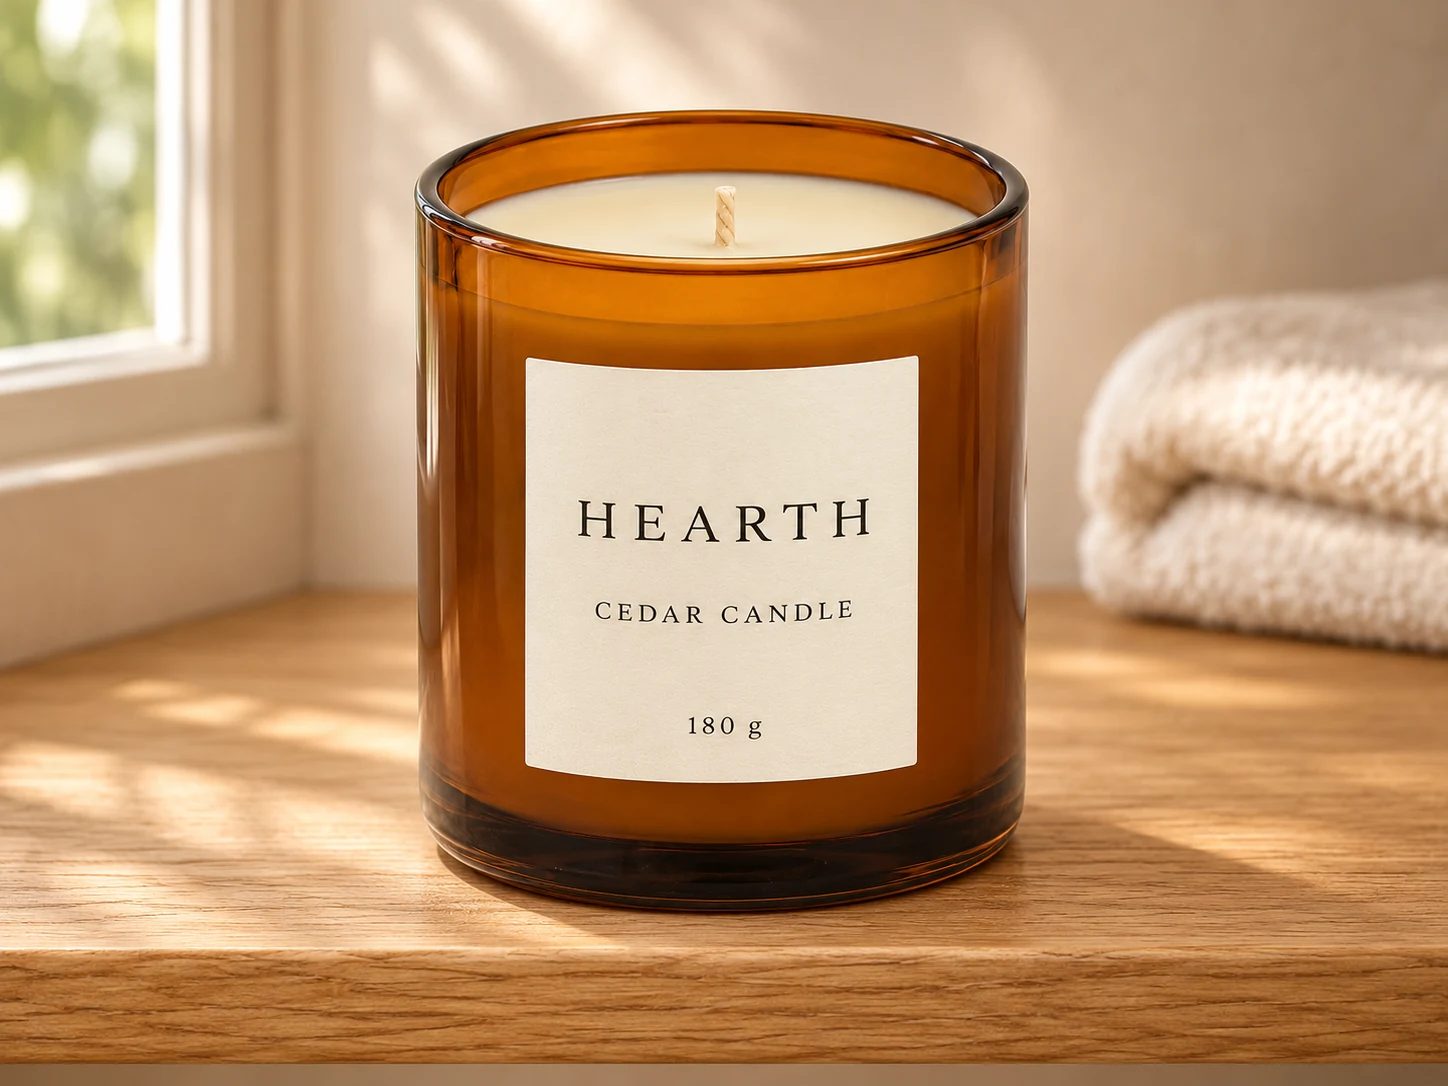
Use the uploaded product photo as the reference. Preserve the product silhouette, proportions, packaging colors, material and label layout as closely as possible. Keep the product fully visible and in focus. Do not invent text, logos, accessories or extra packaging. Photograph the product on an uncluttered oak bathroom shelf. Add a softly blurred folded towel in the background. Use natural window light, warm neutral colors and an eye-level view. Keep the product as the dominant subject, with no people or additional products.
06 / 16:9
A wide composition with room for your own campaign copy.
Use the uploaded product photo as the reference. Preserve the product silhouette, proportions, packaging colors, material and label layout as closely as possible. Keep the product fully visible and in focus. Do not invent text, logos, accessories or extra packaging. Place the product on the right third of a burgundy studio background. Add a restrained gold ribbon behind it without covering the packaging. Use soft directional lighting and natural shadows. Leave the left half uncluttered for text to be added later. Do not add lettering outside the existing product label.
Step 1
Sign in and add a sharp image of the actual item. Choose a view that already shows the shape and label you want in the result. Even lighting and a simple background give you a clearer starting point. Avoid cropped edges, heavy filters and glare across the packaging. Use additional reference images only when they clarify the same product.
Step 2
Load a scene prompt below, then edit the surface, backdrop, props and light direction. Select a square, portrait or landscape aspect ratio to suit the placement. Start with one clear composition. The generator shows the credit cost for your resolution and uploaded references before you submit. Each click requests one image; presets do not generate a batch.
Step 3
Compare the result with your source photo before downloading. Check the silhouette, cap, label spelling, color and material. Look at where the product meets the surface and whether reflections make sense. If a detail drifts, simplify the scene or use a clearer reference. Keep the original product image alongside your generated creative for a final review.
Use the prompt to define the scene; use your original photo to judge the result.
01
A useful product image starts with a clear visual hierarchy. Describe the surface under the item, the background behind it and the space around it. Keep props away from the label and make the product the sharpest subject. The scene presets give you starting briefs, rather than fixed templates. Change a stone shelf to paper, remove a ribbon or soften the background until the composition suits your brand. Start with a simple scene before introducing several competing objects.
02
Tell the generator where the light comes from and how soft it should be. A large diffused source creates a different impression from a narrow beam of afternoon sunlight. Ask for a contact shadow so the product appears to rest on its surface. With glass or glossy packaging, inspect highlights and reflections carefully. A convincing background cannot compensate for a reflection that contradicts the bottle shape. Change one lighting instruction at a time so you can compare the effect.
03
Choose the aspect ratio before generating. Square compositions can center the item; a portrait frame gives more room above and below it. A wide campaign image can place the product to one side and leave space for copy. Describe that empty area explicitly, then add final typography in your design editor. Asking for a different ratio creates a new composition; it does not guarantee the same image with extra canvas. Keep important packaging details away from the frame edges.
04
For a collection, reuse the same background color, surface, light direction and camera height across prompts. Upload the correct reference for each item and change only the product-specific instructions. This gives you a consistent brief to work from, although the model can still vary between generations. Compare the outputs together before selecting a set. Record the prompt that produced a useful result, and review scale and color across the collection rather than judging each image in isolation.
Explore clean surfaces, restrained greenery and soft light for bottles, tubes and jars. Keep the label readable and inspect pumps, lids and transparent areas. A botanical backdrop is a styling choice; it should not imply ingredients that the product does not contain.
Use controlled reflections, warm surfaces or a quiet studio background to establish a mood. Glass thickness, liquid color and label placement need particular attention. Start from a source image with manageable glare so the model has useful detail to follow.
Place home goods or packaged products in a restrained everyday setting. Specify the size relationship between the item and nearby objects. Keep the product dominant and avoid invented accessories that could make a shopper misunderstand what is included.
Explore a holiday palette or a gift-oriented composition without redesigning the packaging. Keep decorative elements behind the item. Reserve space for a headline, then add your final offer and typography separately so the campaign text stays under your control.
A convincing scene still needs an accurate product. Keep your reference open while reviewing the output.
Upload a product reference and describe the setting you want. The generator creates a new image guided by both the photo and your prompt. You can ask for a different backdrop, surface, light direction or composition. This is generative editing, so packaging and other details can change and must be checked against the original.
Yes. This page requires at least one uploaded reference before generation. Use a sharp, unobstructed photo of your own product. A phone photo can be a useful starting point when the packaging is readable and the whole item is visible. For a different camera angle, upload a photo from that angle instead of relying on the model to invent hidden details.
Exact preservation is not guaranteed. Small print, logos, transparent packaging, reflective surfaces and fine edges can change. Compare every result with your reference. If exact packaging is essential, keep the original product pixels in a separate editing workflow and use AI for the surrounding scene. This tool does not provide a pixel-locked compositing mode.
Try: “Use the uploaded candle photo as the reference. Preserve the jar shape, wax color and label layout. Place it on a pale stone shelf against a warm gray wall. Use soft window light from the left and a natural contact shadow. Keep the label visible, with no extra text or props.” Replace the object and setting to match your product, then inspect the result for changes.
This tool uses Nano Banana 2.1, which requires a paid plan or credit pack. Free signup credits apply to GPT Image 2.5 Fast, not this model. The generator displays the current credit cost, including reference images, before you generate. Signing in or choosing a scene does not start generation.
Use reviewed results for creative placements where the image accurately represents your item. Check the requirements of your intended marketplace or advertising channel before publishing. Keep factual product features faithful to the source. A generated lifestyle scene should not be presented as proof of product performance, ingredients or a customer experience.
Choose one clear product photo and a scene that serves the story you want to tell.