Chain bracelets
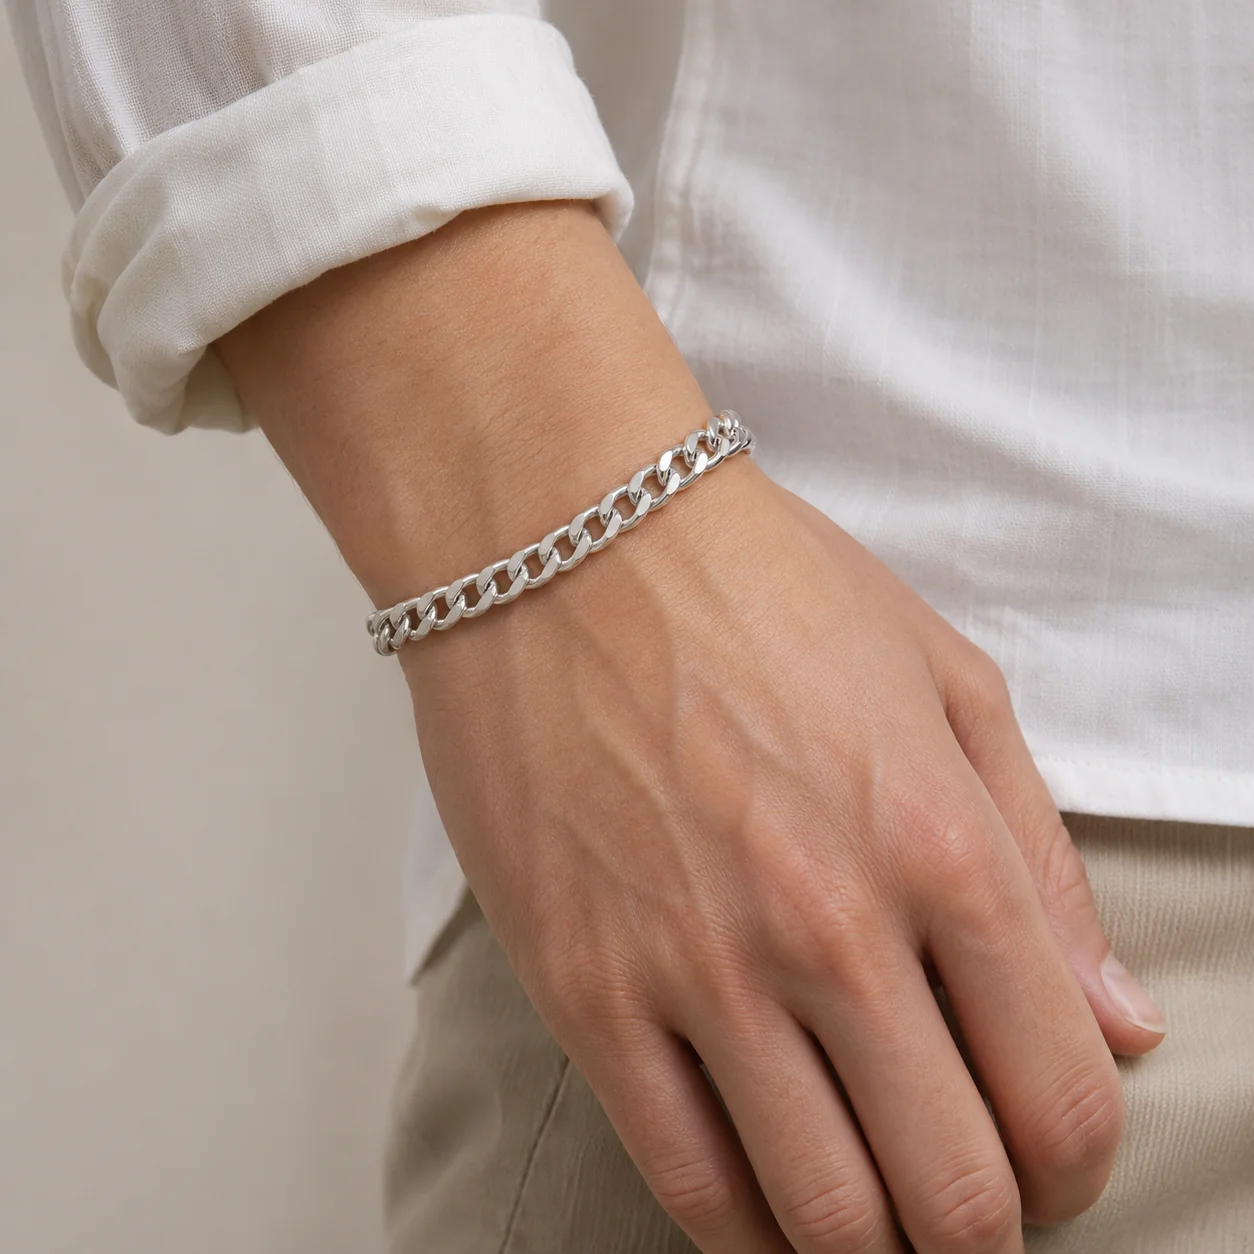
A chain drapes toward the wrist bone and usually shows the clasp on one side. A resting wrist shows the drape best.
Jewelry Studio · On-model
A bracelet looks different worn than laid flat. Upload one bracelet photo, choose how the wrist is posed, and see the chain, bangle or cuff on an adult wrist.
Updated · Image25 Jewelry Studio
15 credits · Fast · Medium · 1 image
Includes one reference photo. Every new generation costs 15 credits.
Email sign-in keeps your selection. Google sign-in leaves this page; reselect your photo and settings after returning.
Wrist resting
Forearm resting on a surface, top of the wrist up.
Bracelet on wrist photos show the bracelet from your product photo worn on a generated adult wrist. Pick a resting wrist, a raised hand, a side view that shows the clasp or cuff opening, or a wrist with a rolled sleeve. One image costs 15 credits, and you check the links and the fit before you use it.
01
A curb chain and a cuff, each worn from its own product photo.
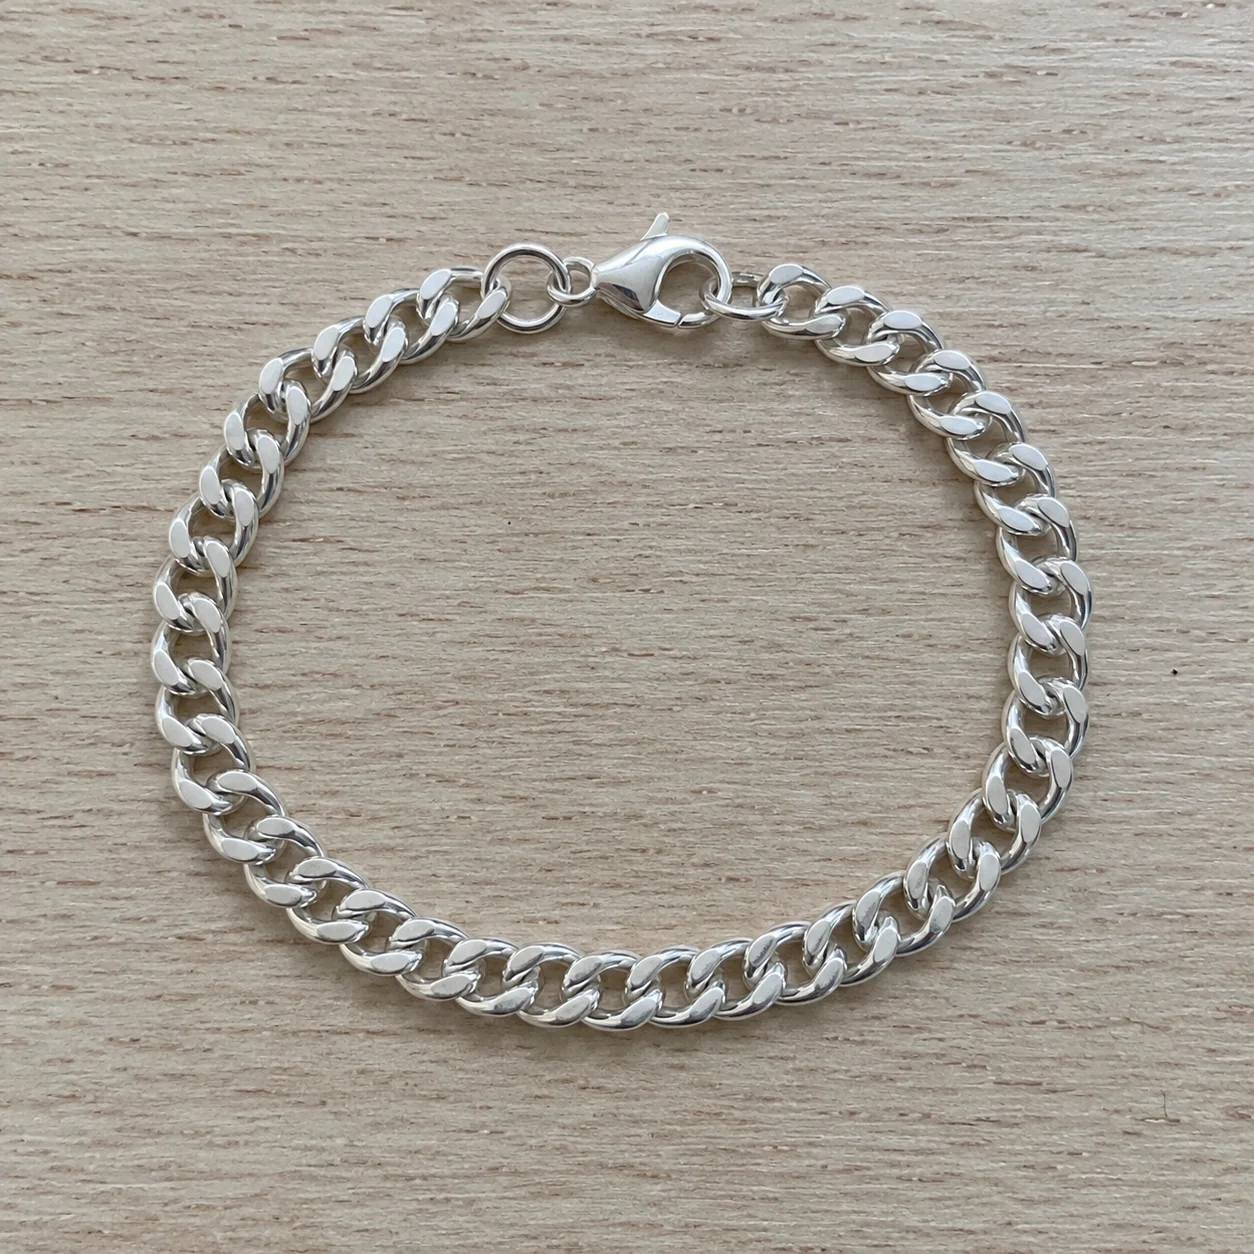 Before
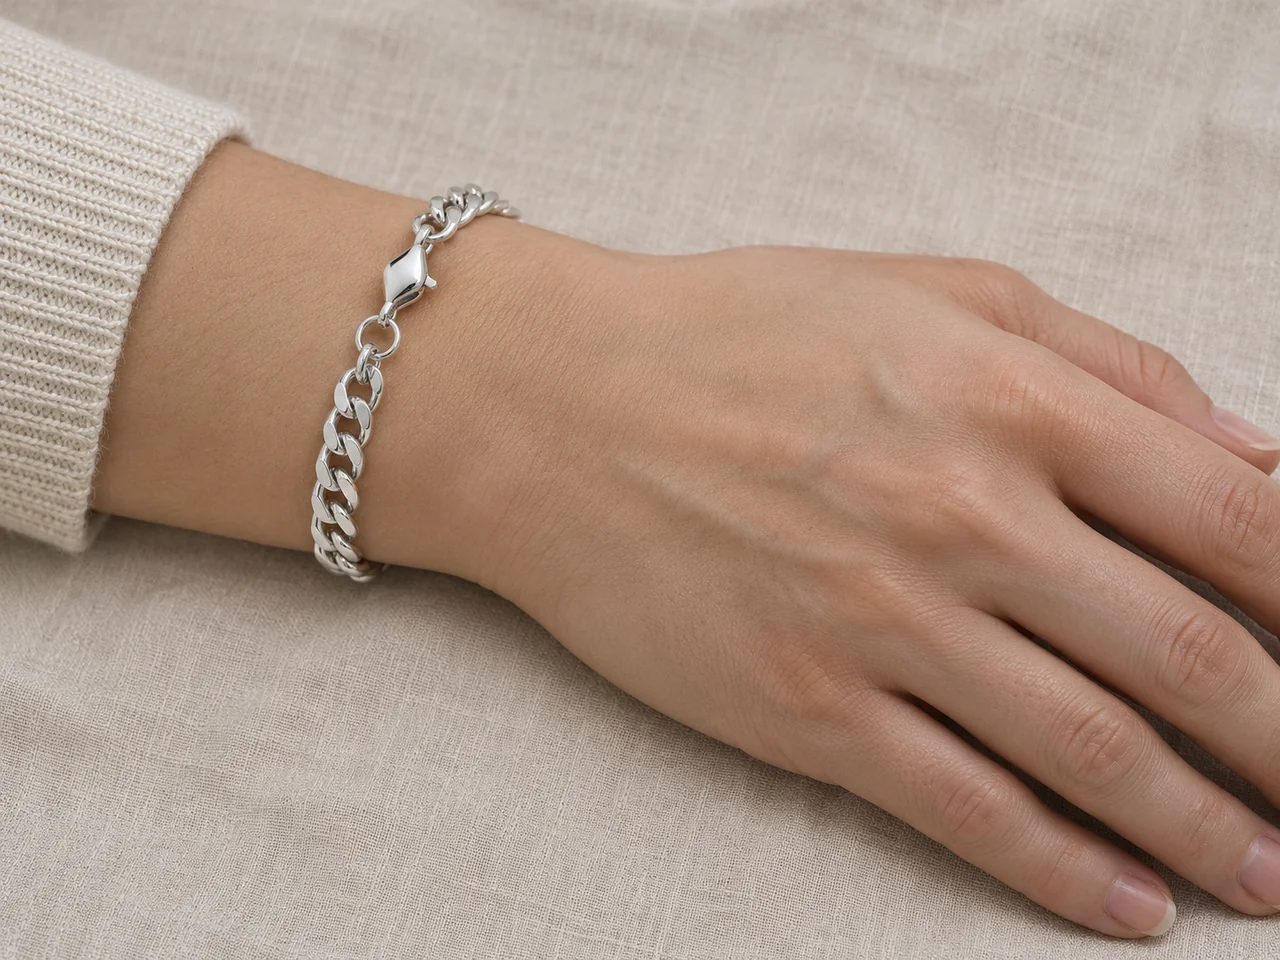 After
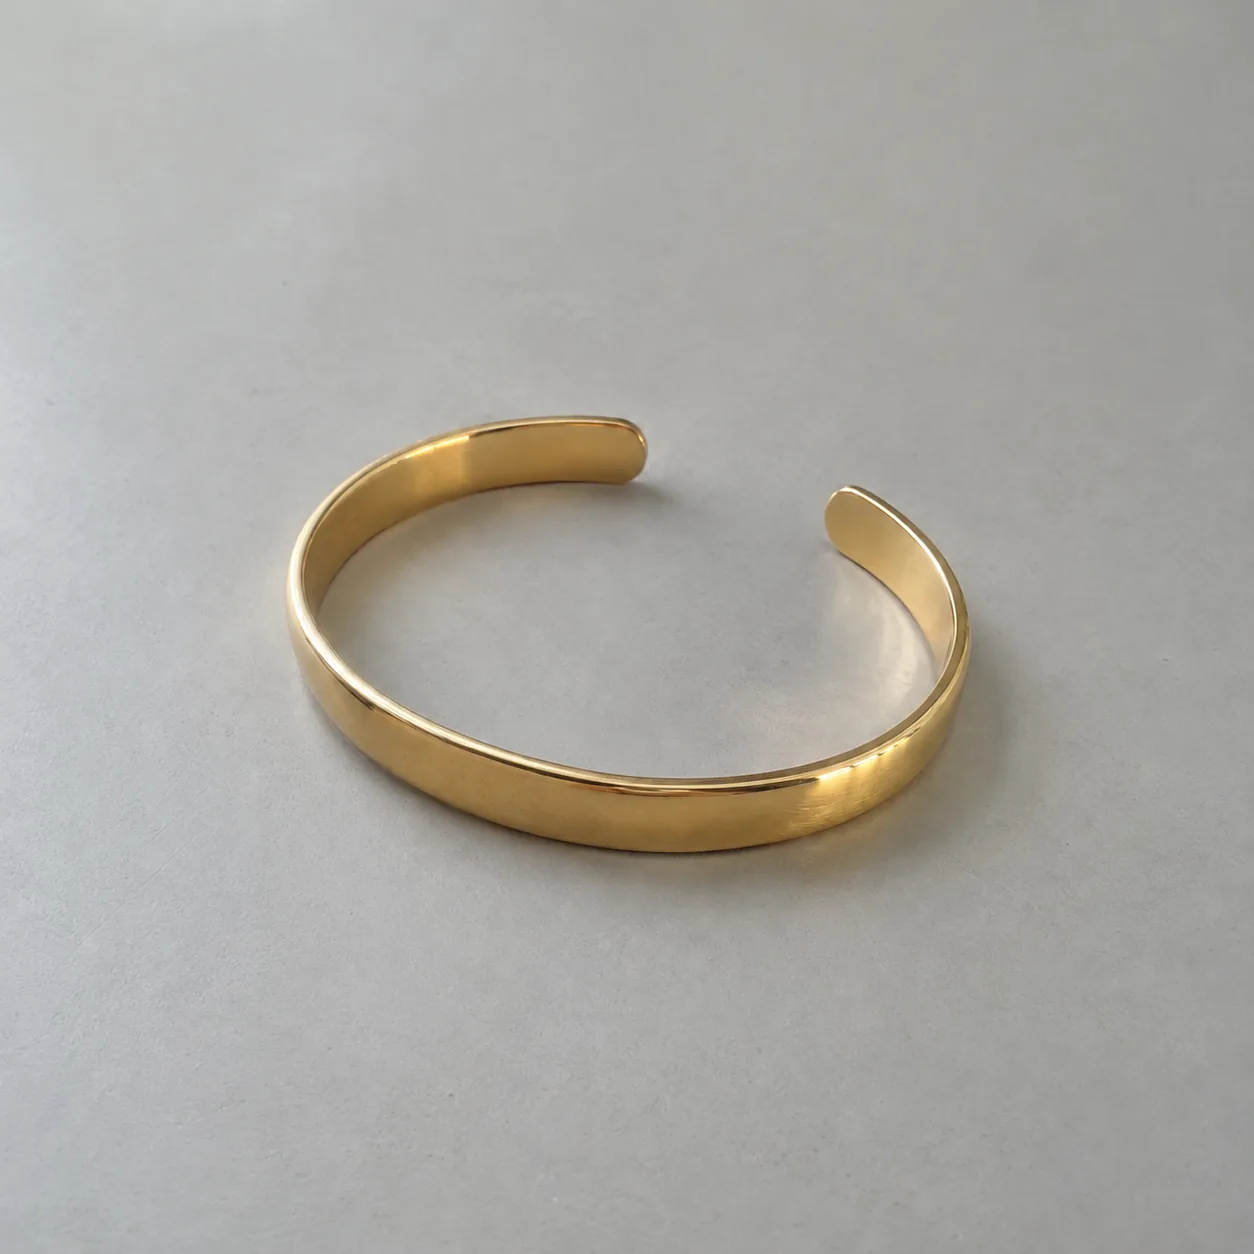 Before
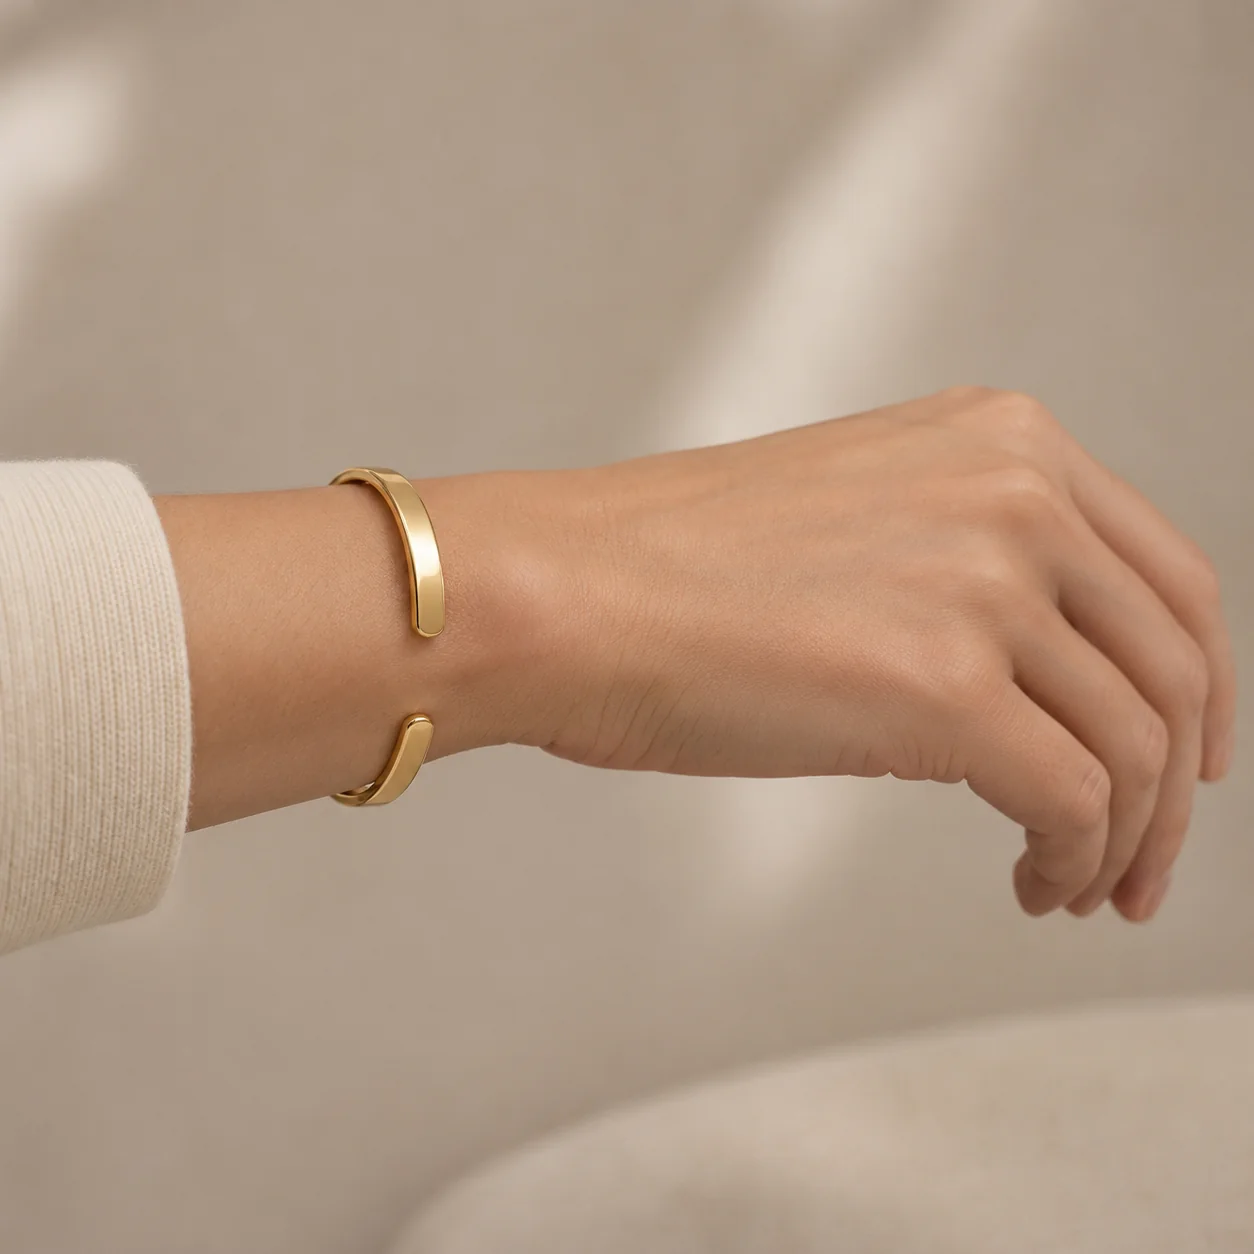 AfterBefore
 After
02
It is a worn image generated from a product photo of the bracelet. The tool reads the link pattern, clasp, charms and shape from your upload and generates an adult wrist wearing it. The wrist, light and background are new; the bracelet is meant to be yours.
A worn bracelet shows two things a flat photo cannot: how loosely it hangs and how it moves with the hand. A chain drapes toward the wrist bone, a bangle sits lower and a cuff hugs the top of the wrist with its opening underneath. Buyers use these cues to judge size and style.
The tool keeps a chain or bangle as one continuous loop, with the far side hidden behind the wrist as it would be in real life, and keeps a cuff’s opening where it is. It does not measure the bracelet, so the fit is a plausible preview, not a size guide.
03
Lay chains in a loose circle with the clasp visible, or stand a bangle or cuff so its outline reads. Use one PNG, JPEG or WebP up to 20 MB.
Pick Wrist resting, Wrist raised, Side of the wrist or With a sleeve, then a format. Add notes for skin tone or sleeve color if you like.
Follow the links around the visible part of the loop, compare the clasp or opening with your photo and judge whether the fit looks right. Download only accurate results.
04
Choose the pose that shows how your bracelet is worn.
| Pose | Shows | Best format | Best for |
|---|---|---|---|
| Wrist resting | Top of the wrist, chain drape | 4:3 | Chains and charm bracelets |
| Wrist raised | Bracelet in front, hand relaxed | 3:4 | Bangles and statement pieces |
| Side of the wrist | Clasp or cuff opening | 1:1 | Cuffs, hinged bangles, clasps |
| With a sleeve | Bracelet below a rolled cuff | 1:1 | Everyday and unisex styles |
05
Each style sits differently on the wrist.
A chain drapes toward the wrist bone and usually shows the clasp on one side. A resting wrist shows the drape best.
A closed bangle slides over the hand, so it sits looser and lower on the wrist. A raised hand shows the full circle.
A cuff wraps the top of the wrist with an opening underneath. Use the side view to show the opening and its width.
Charms and rows of stones are the hardest details. Count them in the result and add a note naming any charm that must stay visible.
06
07
Compare these points with the real bracelet before you download.
| Check | Good result | Reject if |
|---|---|---|
| Loop | One continuous loop, far side behind the wrist | A gap, an extra strand or a floating end |
| Links | Same link style and size | Links change style or merge |
| Clasp or opening | Same clasp type or cuff gap | The clasp vanished or the cuff closed |
| Fit | Plausible drape for the style | Painted on tightly or hanging far too loose |
| Charms and stones | Same count and placement | Charms added or stones missing |
| Hand | Natural wrist and five fingers | Distorted wrist or extra fingers |
08
Show the drape and clasp as the second image after the product shot.
Example: a curb chain, Wrist resting, 4:3.
The opening is the question buyers ask; the side view answers it.
Example: a gold cuff, Side of the wrist, 1:1.
A sleeve gives everyday context without styling the whole outfit.
Example: a beaded bracelet, With a sleeve.
A raised hand feels personal and works for seasonal posts.
Example: a bangle, Wrist raised, 3:4.
09
Worn images work alongside honest product photos.
A closed loop or upright bangle on a plain backdrop should stay the first image.
Choose the pose that answers the main fit question: drape for chains, opening for cuffs.
State the inner length or diameter and any extender in the description.
Reuse the same notes for skin tone and sleeve across a collection.
10
Most failed results have a simple cause.
A gap or a floating end usually means the source photo hides part of the bracelet. Lay it in a full, untwisted circle and try again.
Add “sits loosely, slight drape” to the notes for chains, or “slides over the hand, sits low” for bangles.
Keep the clasp visible in the source photo and choose Side of the wrist, which gives the clasp the most space.
Regenerate with “no other jewelry or watch” in the notes. The tool is told to show only your piece, but models sometimes add accessories.
Photograph charm bracelets with every charm facing up and separated, and name the charm that must stay visible.
Before you publish
The tool guesses how loose the bracelet should look from your photo and an average wrist. It cannot know the real inner length, diameter or the buyer’s wrist size. Give measurements in the listing and treat the image as a preview.
Links, clasps and charms can change in worn images. Reject any result that shows something different from the bracelet the buyer receives.
Questions
Upload a product photo of the bracelet and choose a wrist pose. An adult wrist is generated wearing your bracelet, with chains and bangles kept as one continuous loop and cuffs keeping their opening. You compare the result with your photo before downloading.
Use Side of the wrist so the opening and its width are visible. Add a second image with Wrist raised if the front design matters.
It is meant to look plausible for the style, but it is not measured. The tool does not know the real inner length or the buyer’s wrist. State real measurements in your listing.
Make sure the clasp is visible in your source photo, then choose Side of the wrist or Wrist resting. Add a note such as “clasp on the side, visible” if it matters.
The tool is built for one bracelet per image. For a stack, photograph the stack as one piece and check every bracelet in the result, or use a real photo.
Yes. Add it in the notes, for example “deep skin tone, plain white sleeve”. The notes never override the instruction to keep your bracelet unchanged.
Each image costs 15 credits on the default Fast setting, including your reference photo. New accounts that use Google sign-in or a Gmail address get 20 free credits, enough for one image. Free-credit images carry a watermark and are for personal use; use paid credits for store and marketplace images.
Your upload is private and scheduled for deletion after one day. On a free account, generated images stay in My Creations for 14 days; paid plans and credit packs keep them longer.
Upload a photo of the whole bracelet, choose a wrist pose, and check the links and clasp before you publish.
Upload a bracelet photo