Real wear and condition
Vintage and pre-owned pieces carry scratches, patina and small dents. Removing them misdescribes the item, and it is the fastest way to a “not as described” complaint.
Jewelry Studio · Photo editor
Keep the photo you took and make it read better. Correct light and color, clear loose dust and lint, or calm harsh glare, while the piece and its real condition stay exactly as they are.
Updated · Image25 Jewelry Studio
15 credits · Fast · Medium · 1 image
Includes one reference photo. Every new generation costs 15 credits.
Email sign-in keeps your selection. Google sign-in leaves this page; reselect your photo and settings after returning.
Light & color
Fix exposure and white balance; keep everything else.
The AI jewelry photo editor retouches an existing product photo instead of building a new scene. You pick one edit, the framing and background stay the same, and you get one corrected image for 15 credits to compare with your original.
01
Explore lighting, framing and presentation ideas for your jewelry photos.
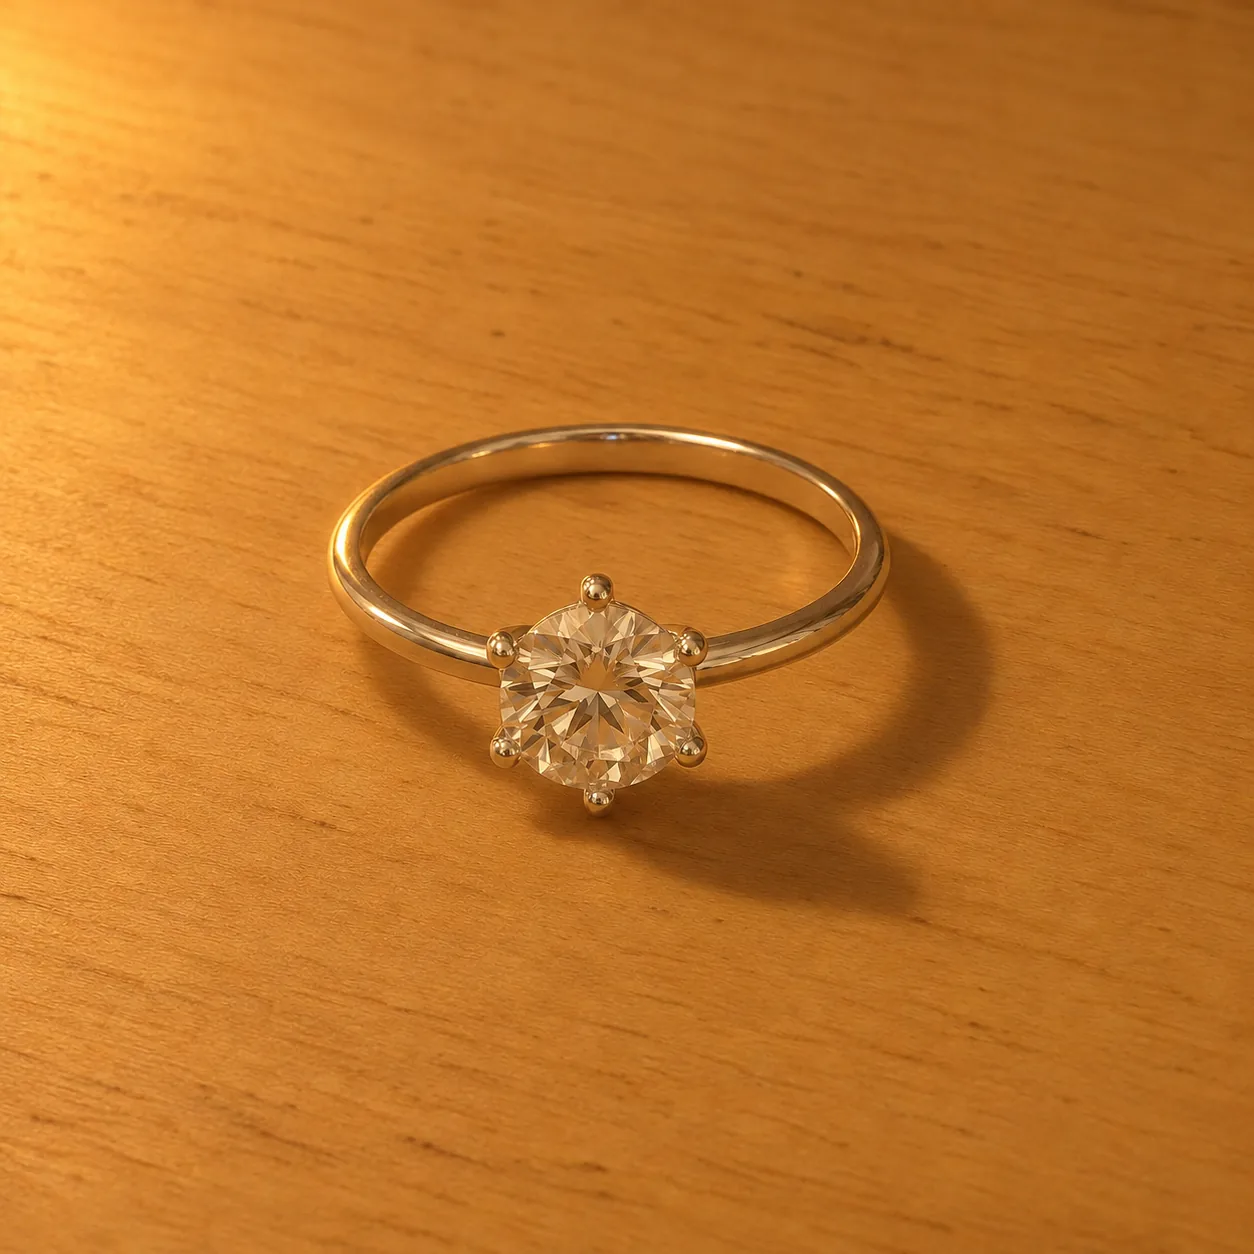 Before
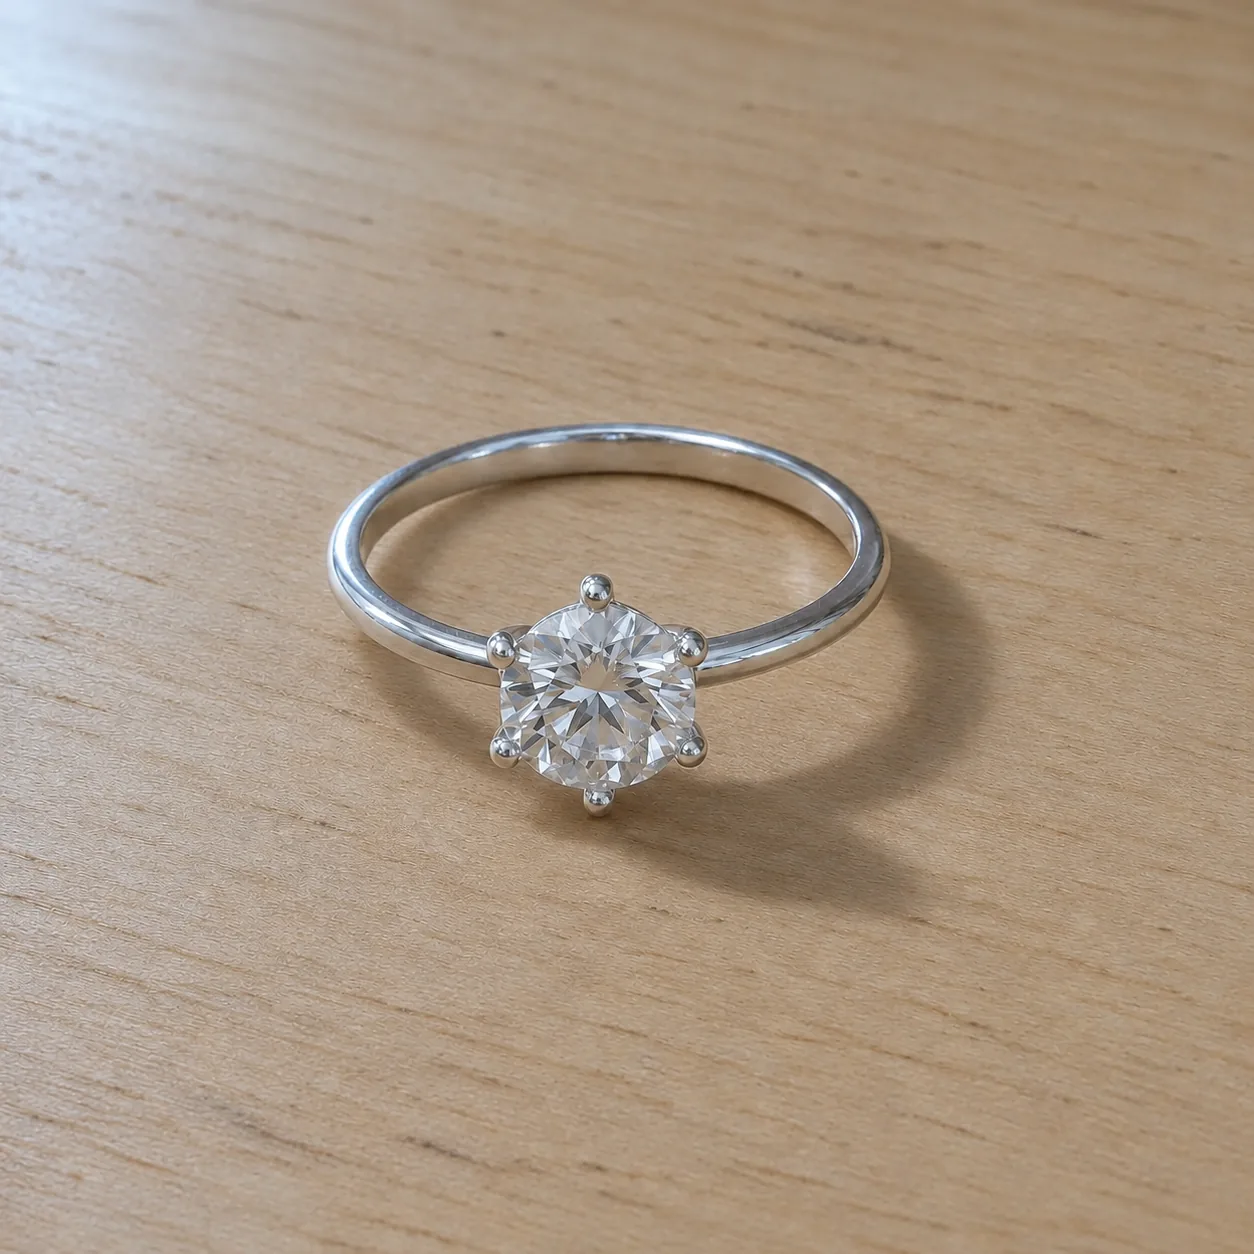 After
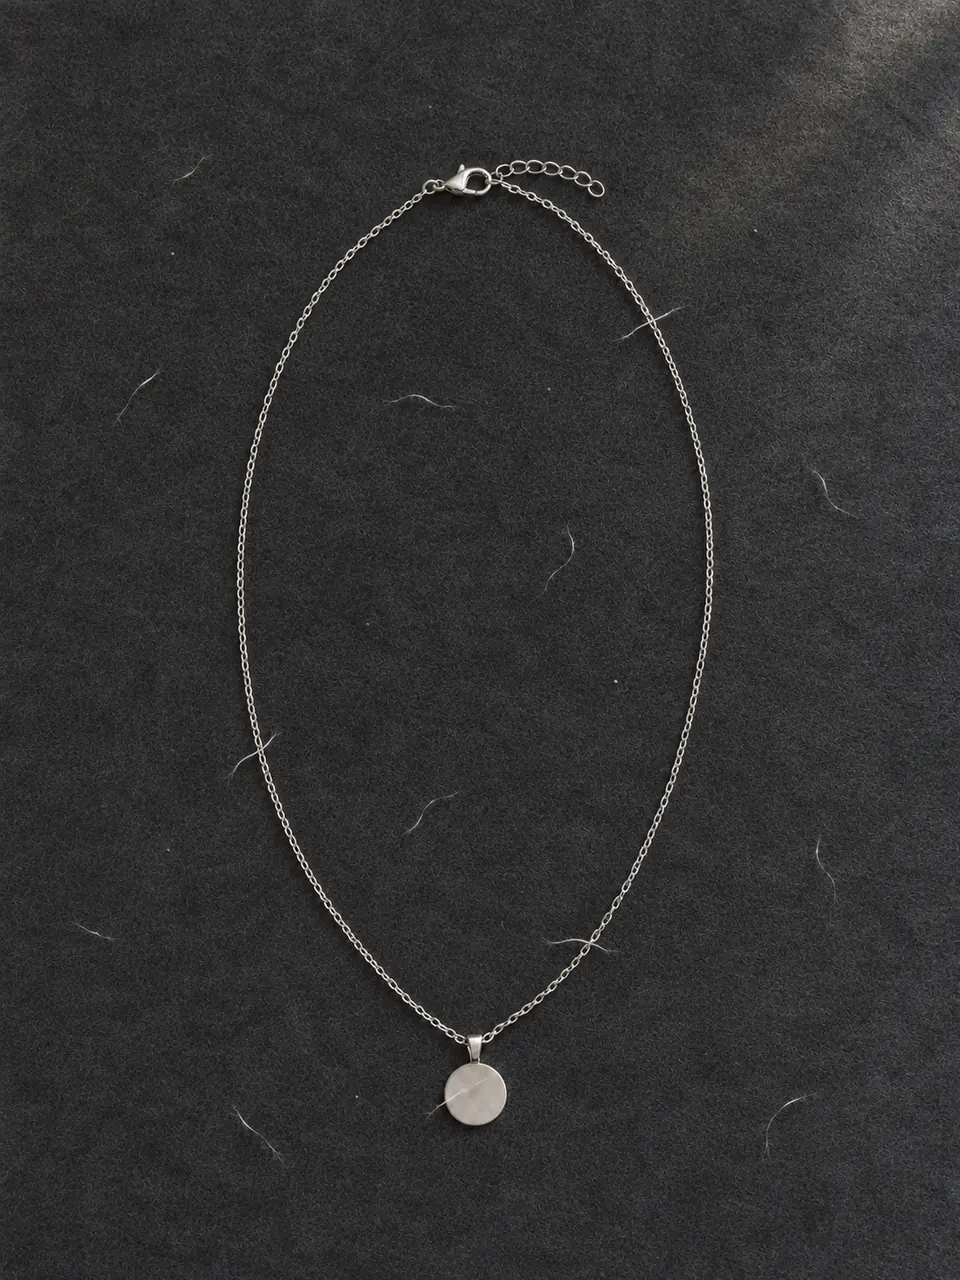 Before
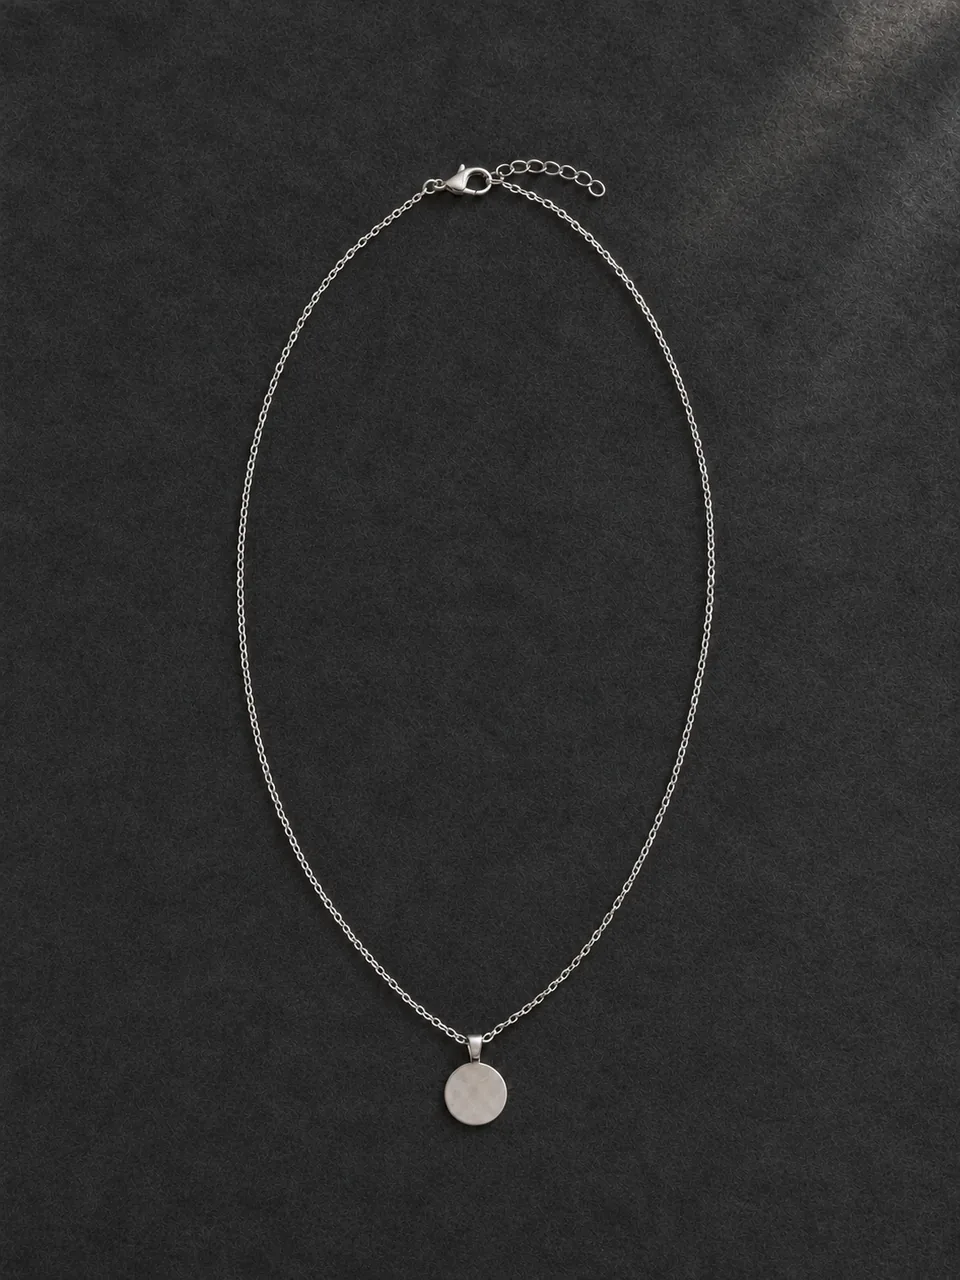 After
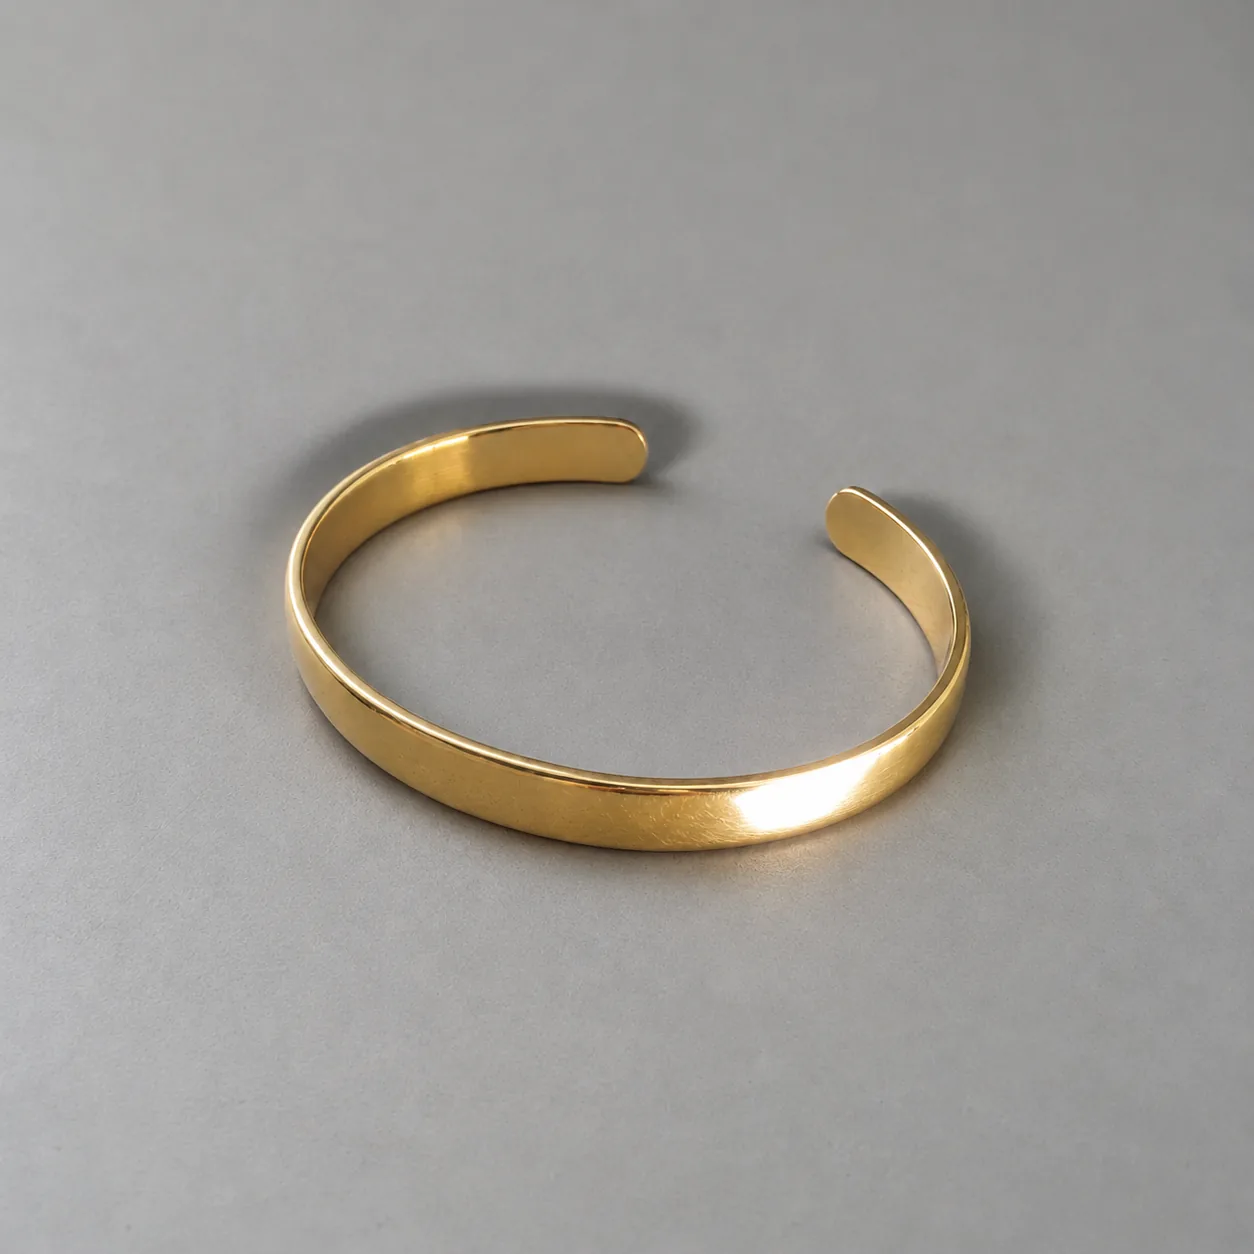 Before
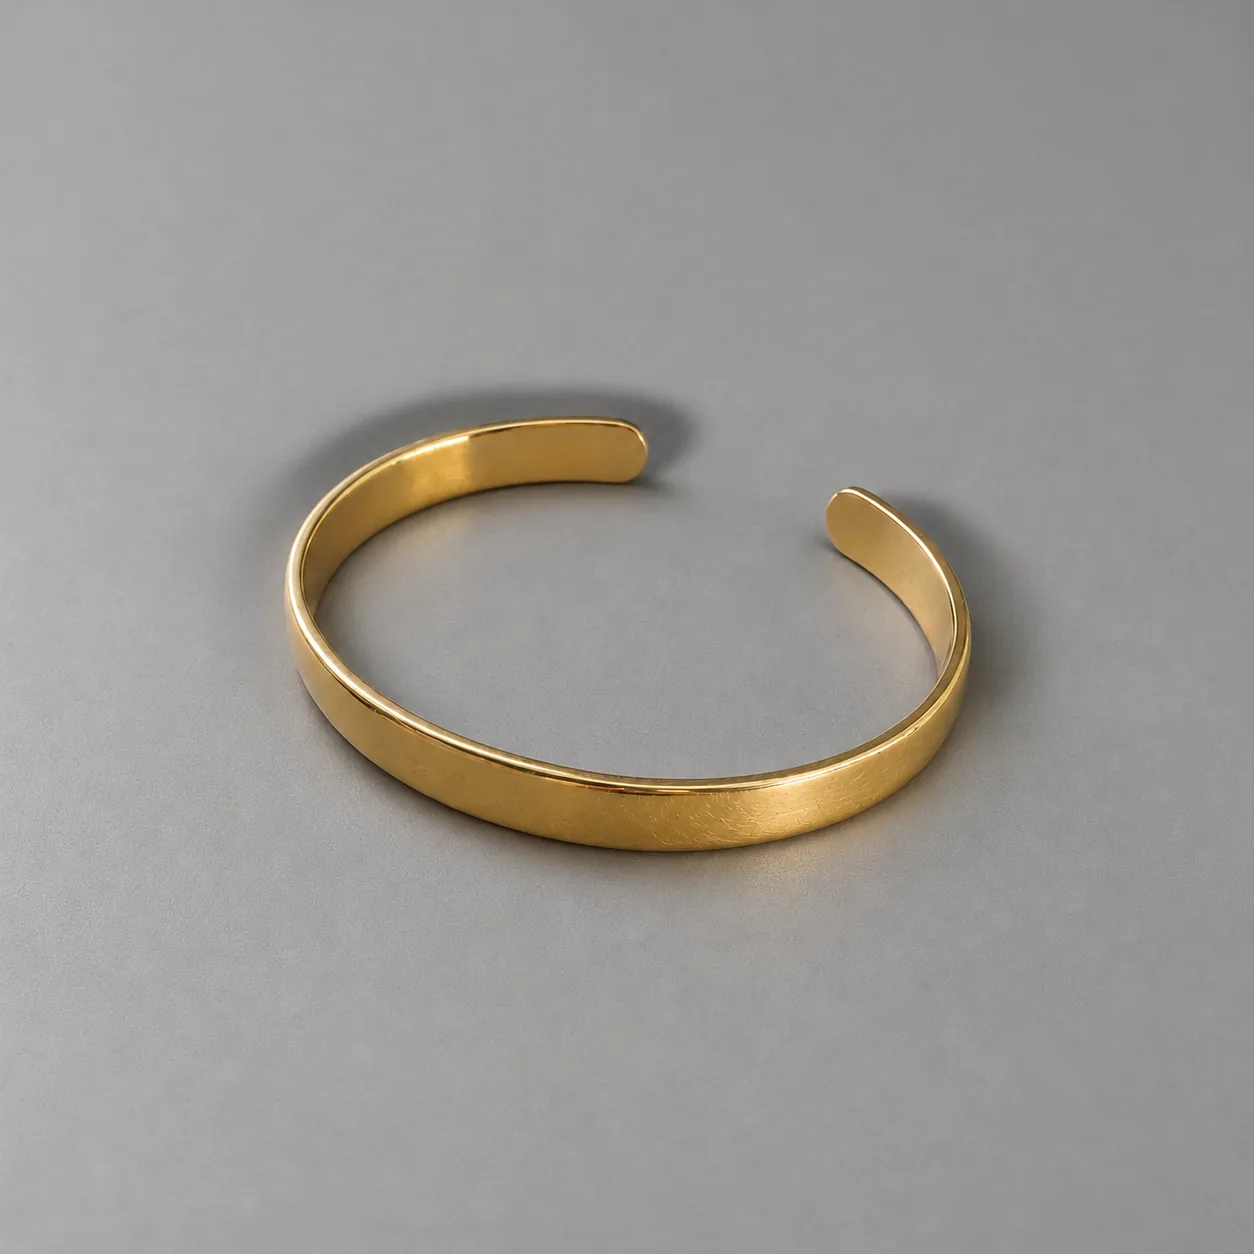 After
02
It applies one conservative correction to a photo you already have. Most phone photos of jewelry fail in the same few ways: the light is too warm or too dim, a speck of lint sits next to the clasp, or a polished band turns into a white streak. Those problems hide the piece, but they do not need a new background.
Each edit is narrow on purpose. Light & color fixes exposure and white balance only. Dust & smudges removes loose particles and fingerprints from the surface around the piece. Glare & hot spots softens blown-out reflections so contours and facets read again. The composition, camera angle and background stay as they were.
The editor is built to leave the truth of the item alone. Scratches, wear, tarnish, solder marks and stone inclusions belong to the piece, so the instructions tell the model to keep them visible. Retouching should make a photo clearer, not make a product look better than it is.
03
Pick the one problem that hurts the photo most. Run a second edit on the result if another problem remains.
Use one PNG, JPEG or WebP up to 20 MB, with the whole piece in frame. The photo is resized to 1536 pixels on its longest side before upload, so start from the sharpest version you have.
Select Light & color, Dust & smudges or Glare & hot spots, plus the jewelry type. Choose the format closest to your photo (1:1, 3:4 or 4:3) so the framing is not forced into a new shape. Add a note such as “remove the lint left of the ring” if needed.
The result appears next to your original. Check that only the problem you chose has changed. Download it, or upload the result and apply a second edit. Each run is a separate paid generation.
04
Three edits, each for one kind of problem.
| Edit | Fixes | Leaves alone | Best for |
|---|---|---|---|
| Light & color | Dim exposure, yellow or blue color casts, muddy shadows | Background, framing, every detail of the piece | Indoor phone photos taken under warm bulbs |
| Dust & smudges | Loose dust, lint, fingerprints and smudges on the surface around the piece | Scratches, wear and marks that are part of the item | Dark velvet and glossy surfaces that show every speck |
| Glare & hot spots | Blown-out reflections that hide contours or facets | Stone color, clarity and natural reflections | Polished bands, mirror-finish pendants, faceted stones |
05
Buyers compare what arrives with what they saw. These four things must survive every edit.
Vintage and pre-owned pieces carry scratches, patina and small dents. Removing them misdescribes the item, and it is the fastest way to a “not as described” complaint.
A sapphire that looks bluer or a diamond that looks cleaner than it is changes the value of the listing. Glare correction keeps the stone’s color and inclusions as photographed.
White balance corrections should make metal look neutral, not turn yellow gold into rose gold or silver into platinum. Compare the metal tone with the piece in daylight.
An edit should never stretch a band, enlarge a stone or tighten a chain. The format option exists so your photo keeps its shape instead of being recomposed.
06
AI can clean the surface around a piece, but the cleanest result starts before you press the shutter.
07
A quick edit and a hand retouch solve different jobs.
| AI jewelry photo editor | Manual retouching | |
|---|---|---|
| Skill needed | Choose an edit and review the result | Layers, healing brushes and color tools |
| Time per photo | Usually about a minute of generation | Minutes to an hour, depending on detail |
| Control | One preset edit plus an optional note | Pixel-level control over every area |
| Risk | Small details may shift; review required | Only what the editor changes by hand |
| Best for | Fast fixes across many listing photos | Hero images and complex composites |
08
Older photos shot under warm bulbs can look dull next to new ones. A light and color correction brings them closer to the rest of the shop.
Example: twelve ring photos with a yellow cast, corrected one by one.
Dark fabric shows every particle of dust. Clearing it lets the eye go straight to the piece.
Example: lint removed around a pearl necklace on black velvet.
High-polish bands and lockets bounce light back into the lens. Softening the hot spot restores the shape.
Example: a glare streak calmed on a polished gold cuff.
Retouch first, then send the clean photo to a scene tool for a studio or lifestyle version.
Example: dust removed, then a Clean Studio scene generated.
09
An edit should change one thing. Compare these five points with your original.
| Check | Good result | Reject if |
|---|---|---|
| Framing | Same crop, angle and position | The piece moved or the frame was recomposed |
| Background | Same background, cleaner if you chose dust removal | A new texture, color or prop appeared |
| Real wear | Scratches, patina and inclusions still visible | Real flaws were smoothed away |
| Stones | Same color, size and clarity | Stones look bigger, brighter or clearer |
| Metal tone | Neutral and true to the piece in daylight | Gold looks rose, or silver looks platinum |
Before you publish
The editor works from your photo without a pixel mask, so small details such as accent stones, prongs or engraving can still shift. Compare every result with the original at full size before you use it.
Never use retouching to hide damage, repairs, inclusions or tarnish that a buyer would want to know about. When condition matters, publish an unedited photo alongside the edited one.
Questions
It fixes three common problems: exposure and color casts, loose dust, lint and fingerprints on the surface around the piece, and harsh glare or blown-out hot spots on metal and stones. It keeps the original framing, angle and background, and does not build a new scene.
No, and it should not. Scratches, wear, tarnish and inclusions are part of the item, so the instructions tell the model to keep them visible. Removing them would misrepresent the condition of what you sell.
Choose the Dust & smudges edit, upload the photo and generate. Add a note if one spot matters, for example “remove the lint below the pendant.” For the best result, also clean the piece and backdrop with a lint-free cloth and a blower brush before you shoot.
Yes. Download the first result, upload it and apply a different edit, such as glare after a light and color fix. Each run costs 15 credits and is checked against your photo separately.
Yes. All three edits keep the background, framing and angle. To replace the background with pure white, use the jewelry white background tool; for a new studio or lifestyle setting, use AI jewelry photography.
Each edited image costs 15 credits on the default Fast setting, including your reference photo. New accounts that use Google sign-in or a Gmail address get 20 free credits, enough for one image. Images made with free credits carry a watermark and are for personal use.
Your uploaded photo is private and scheduled for deletion after one day. On a free account, edited images stay in My Creations for 14 days; paid plans and credit packs keep them longer.
Upload a jewelry photo, choose one edit and compare the result with your original before you publish.
Upload a photo to retouch