Studs
Studs are tiny, so fill the frame and show the post and back. A dark background can help clear stones stand out.
Guide · Earring photography
Earrings sell as a pair, fasten in several different ways and look bigger in photos than on the ear. This guide explains how to photograph earrings so all three come across honestly.
Published · Updated · Image25 Jewelry Studio
Try AI earring photographyTo photograph earrings, place both at the same distance from the camera on a plain surface, turn one to show the post, hook or back, light them softly, and add a display or detail shot. Show scale with one real photo and state measurements in the listing.
01
Three questions decide most earring purchases. Do the two match? How do they fasten? How big are they? Photos that answer all three reduce returns and messages.
Matching is a photography problem as much as a product one. If one earring sits closer to the lens, it looks bigger, and buyers worry the pair is uneven. Keeping both at the same distance and angle solves it.
Fastenings and scale need their own images. A turned earring shows the post, hook, lever-back or clip; a real worn photo or a photo beside a familiar object shows size, backed up by a measurement in the description.
02
Four shots cover most earring listings.
| Shot | Setup | Shows | Use as |
|---|---|---|---|
| Pair, front | Both flat, side by side, same distance | Design and matching | First listing image |
| Pair, one turned | One earring rotated about 45° | Post, hook or back | Fastening image |
| On a display | Hanging from a plain stand or card | Drop and movement | Drops, hoops, chandeliers |
| Scale | Worn, or beside a coin or ruler | Real size | Last image, plus a measurement |
03
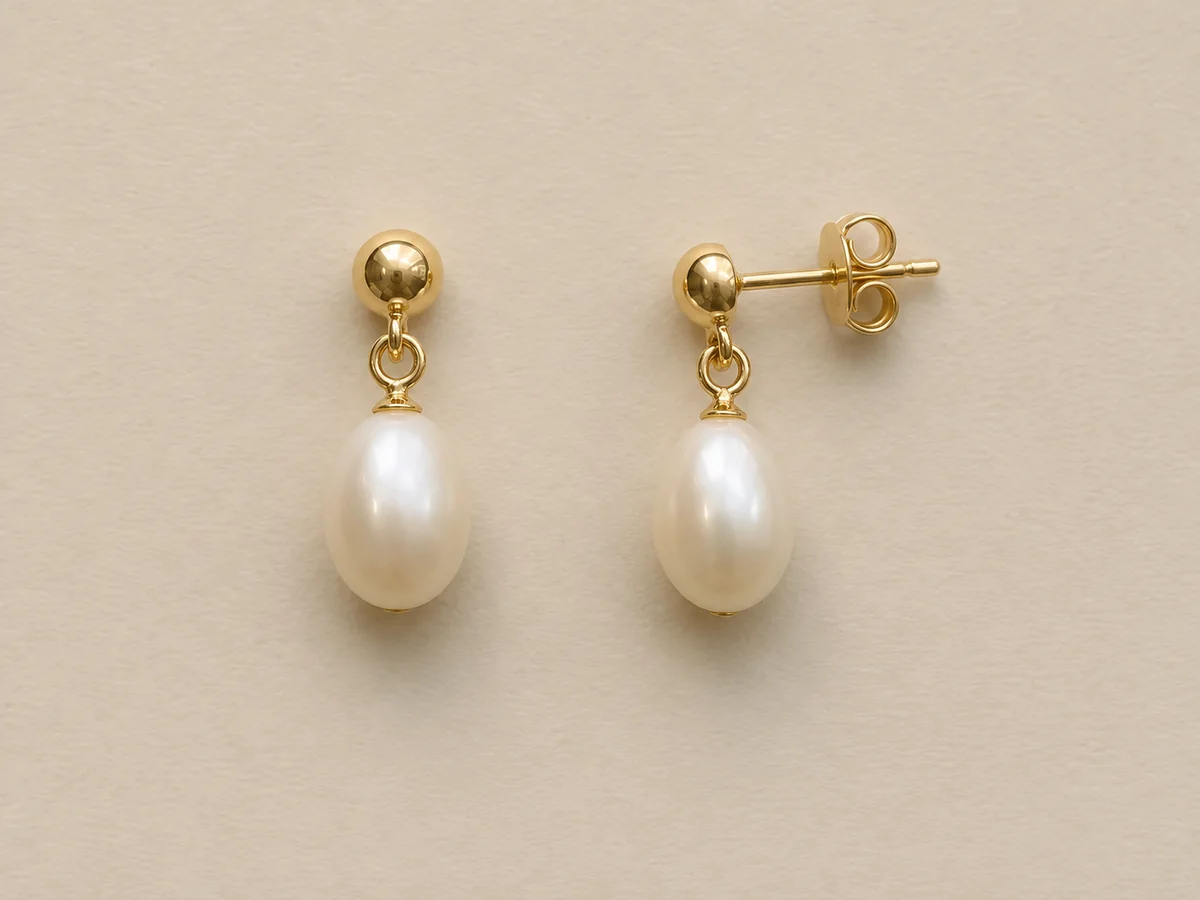
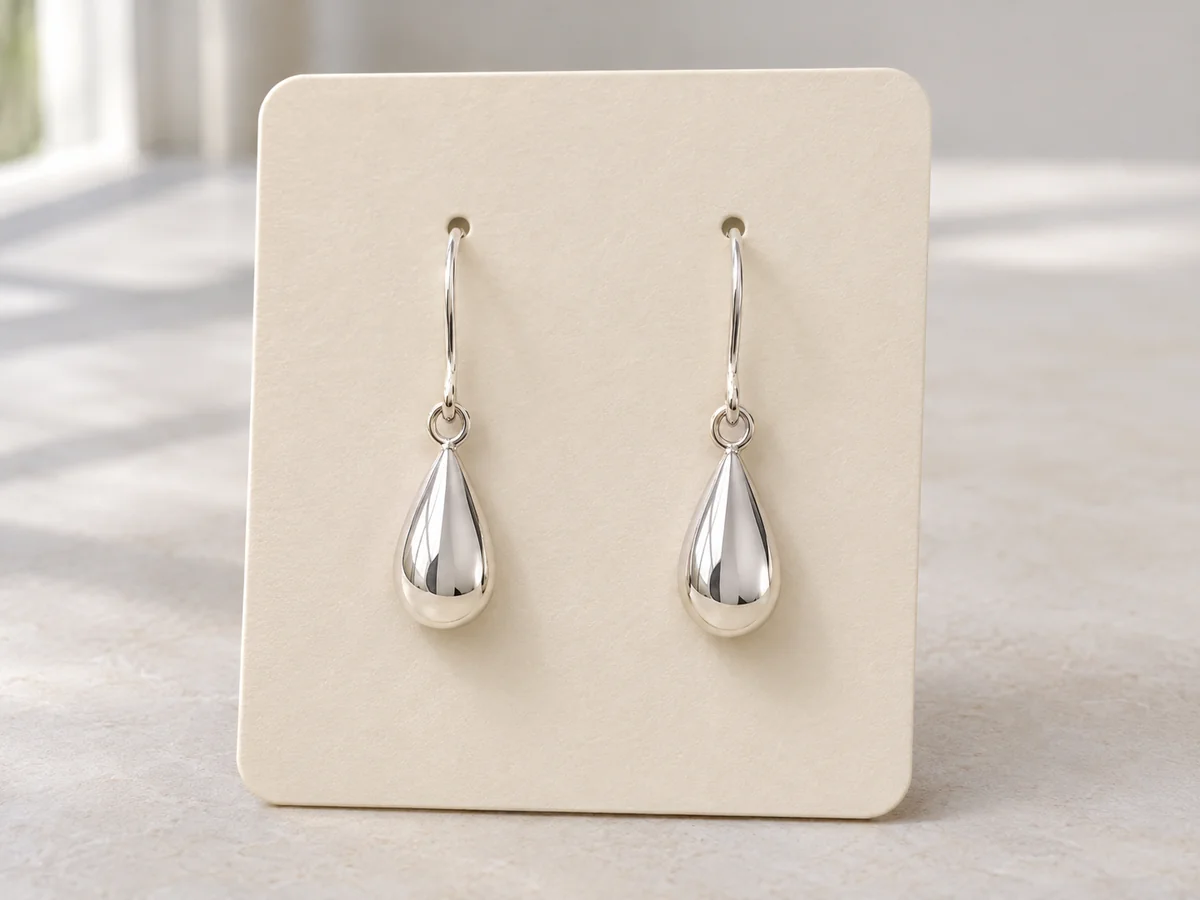
Reference images for the pair and display shots.
04
Wipe both earrings with a lint-free cloth and check they are the same way up. Include the backs if they ship with the earrings.
Lay both earrings flat on the same surface, side by side, with a small gap. Keep the phone parallel to the surface so neither looks larger.
Use indirect window light and a white card. Small stones and pearls blow out easily, so lower the exposure slightly.
Rotate one earring about 45 degrees so the post, hook or back is visible, and take a second shot.
Hang drops from a plain stand or card, then take one real photo for scale and measure the length for the description.
05
Studs are tiny, so fill the frame and show the post and back. A dark background can help clear stones stand out.
Show the full circle and the closure. Stand hoops on edge or hang them so the shape reads as round.
Hang them so they fall naturally; laid flat, drops can look shorter and stiffer than they are.
These follow the ear’s curve and look odd flat. Show them on a display, plus one real worn photo for orientation.
Large, layered earrings need space and a display that lets every tier hang freely. Shoot them hanging, then add a close detail of the most intricate section.
Show the clip open from the side in one image so buyers can see the mechanism and any padding.
For intentionally different earrings, say so in the caption and photograph each earring clearly so buyers know the difference is by design.
Threaders slide through the ear on a fine chain. Hang them over a plain bar so both ends fall naturally, and keep the full chain length visible to show how they wear.
06
Before you publish
Earrings almost always look larger in close-up photos than on the ear. One real scale photo and a measurement in the description prevent most “smaller than expected” returns.
If you use AI to restage earring photos, check that both earrings still match each other and that the fastening is unchanged.
Questions
Lay both earrings flat on the same surface, side by side and at the same distance from the lens, and keep the phone parallel to the surface. Any tilt makes the nearer earring look larger.
Turn one earring about 45 degrees so its post, hook, lever-back or clip is visible while the other faces the camera. One image then shows both design and fastening.
A plain surface near a window with indirect light, a white card on the shadow side, a phone resting on something stable, and a small blank card or stand for hanging drops.
Lead with product shots, then add one real worn photo for scale if you can. If not, photograph them beside a common object and state the measurement.
White for catalog images and studs, velvet for pearls and gold, and linen for handmade pieces. Use contrast so fine wire and small stones stand out.
Get as close as your lens allows without digital zoom, fill the frame, lock focus on the stone and lower exposure slightly. Show the post and back in a second shot.
Use soft, diffused light so pearls show their luster without hot spots, place them on a contrasting surface such as velvet or dark linen, and lower exposure slightly so the white of the pearl keeps its detail.
Four is a good minimum: the pair from the front, the pair with one turned to show the fastening, a display or detail shot, and a real scale photo, plus measured length in the description.
Shoot one clean photo of the pair with one turned, then restage it in every layout you need.
Open AI earring photography