Solitaires and engagement rings
The stone sells the ring. Face-up and three-quarter shots matter most; a side profile shows setting height. A dark backdrop can make a clear stone sparkle more.
Guide · Ring photography
Rings are small, shiny and three-dimensional, which makes them the hardest jewelry to photograph well. This guide explains how to photograph rings with the angles, setup and light that show a ring honestly.
Published · Updated · Image25 Jewelry Studio
Try AI ring photographyTo photograph rings, stand the ring upright with hidden putty, light it with soft indirect daylight, lock focus on the stone, and shoot three angles: a three-quarter hero view, a face-up view of the stone and a side profile of the setting and shank.
01
A ring is a small loop with a detailed top. The stone wants light to sparkle, the polished band reflects everything around it, and the setting has depth that a flat photo can flatten. On top of that, the most important details (prongs, shoulders, the gallery under the stone) are tiny.
Buyers look for three things in ring photos: what the stone looks like, how it is held, and how the band is shaped. No single angle shows all three, so a good ring listing is a set of angles rather than one perfect shot.
The good news is that a phone, a window and a little putty are enough. What matters is a steady ring, soft light and deliberate focus.
02
Shoot all three for every ring you list.
| Angle | Camera position | Shows | Use as |
|---|---|---|---|
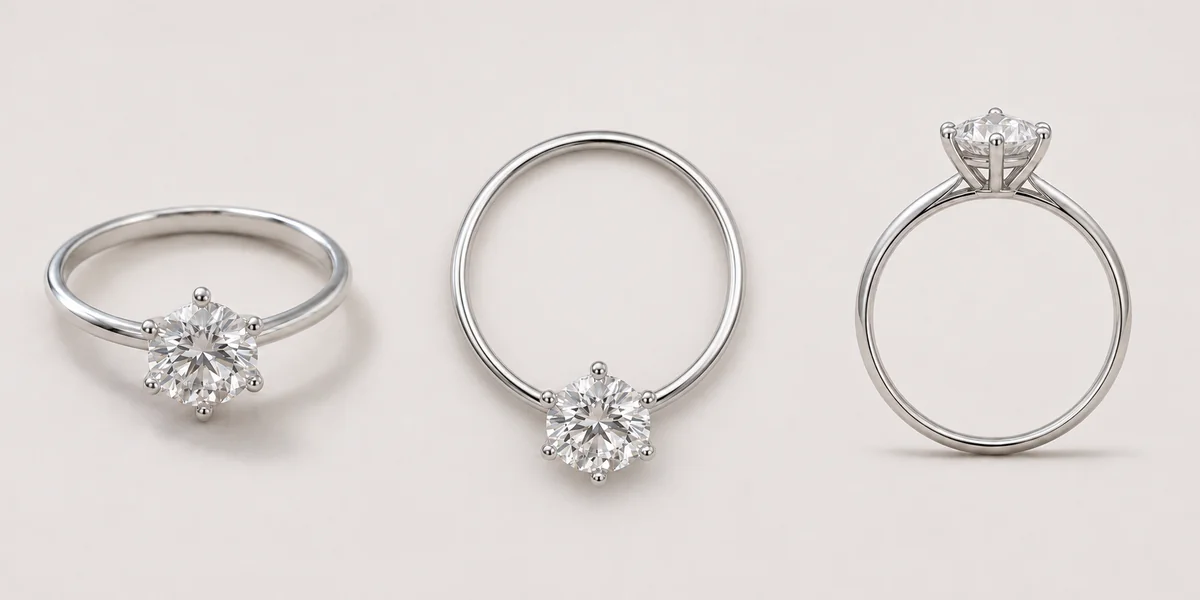
| Three-quarter hero | About 30–45° above, slightly to the side | Stone, setting and band together | First listing image |
| Face-up | Directly above the stone | Stone face and setting outline | Stone detail |
| Side profile | Level with the ring | Setting height, gallery, shank | Construction detail |
03
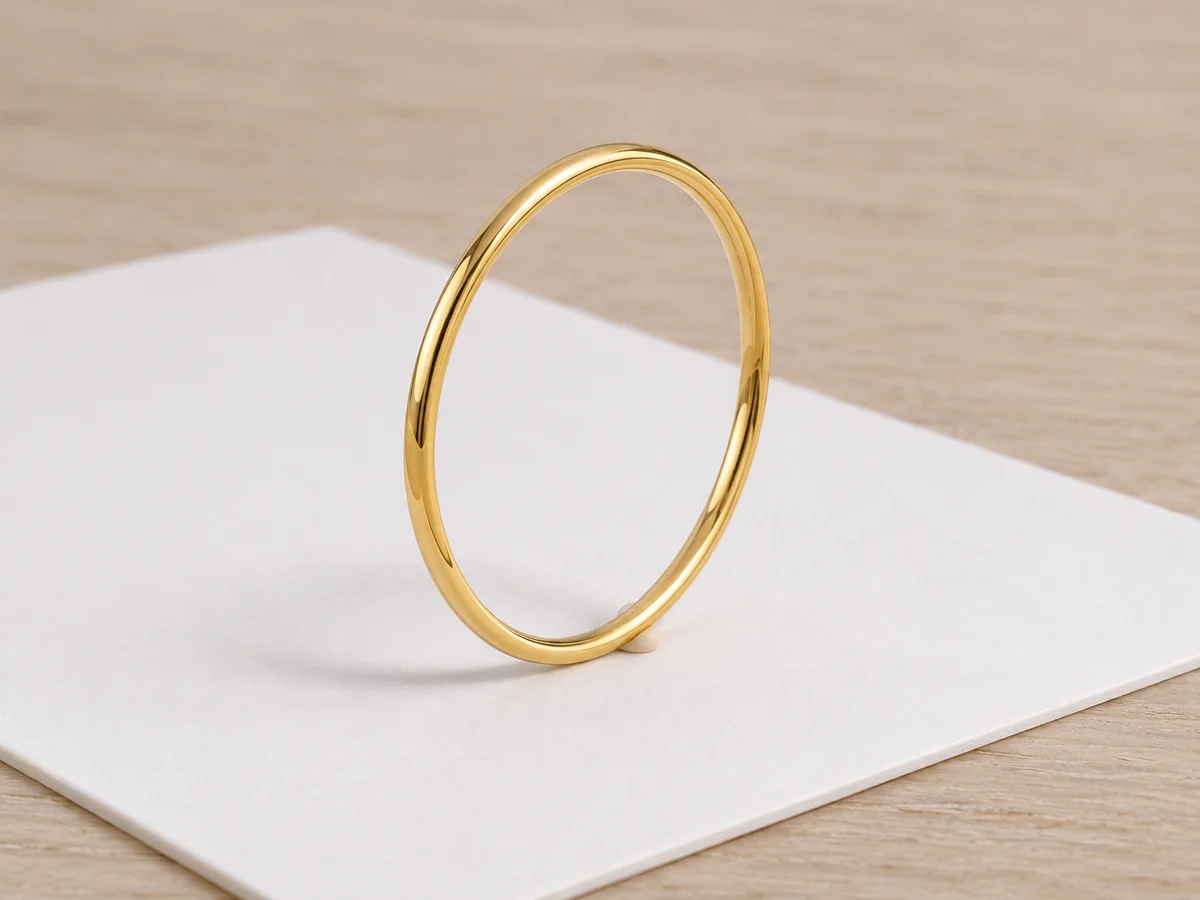
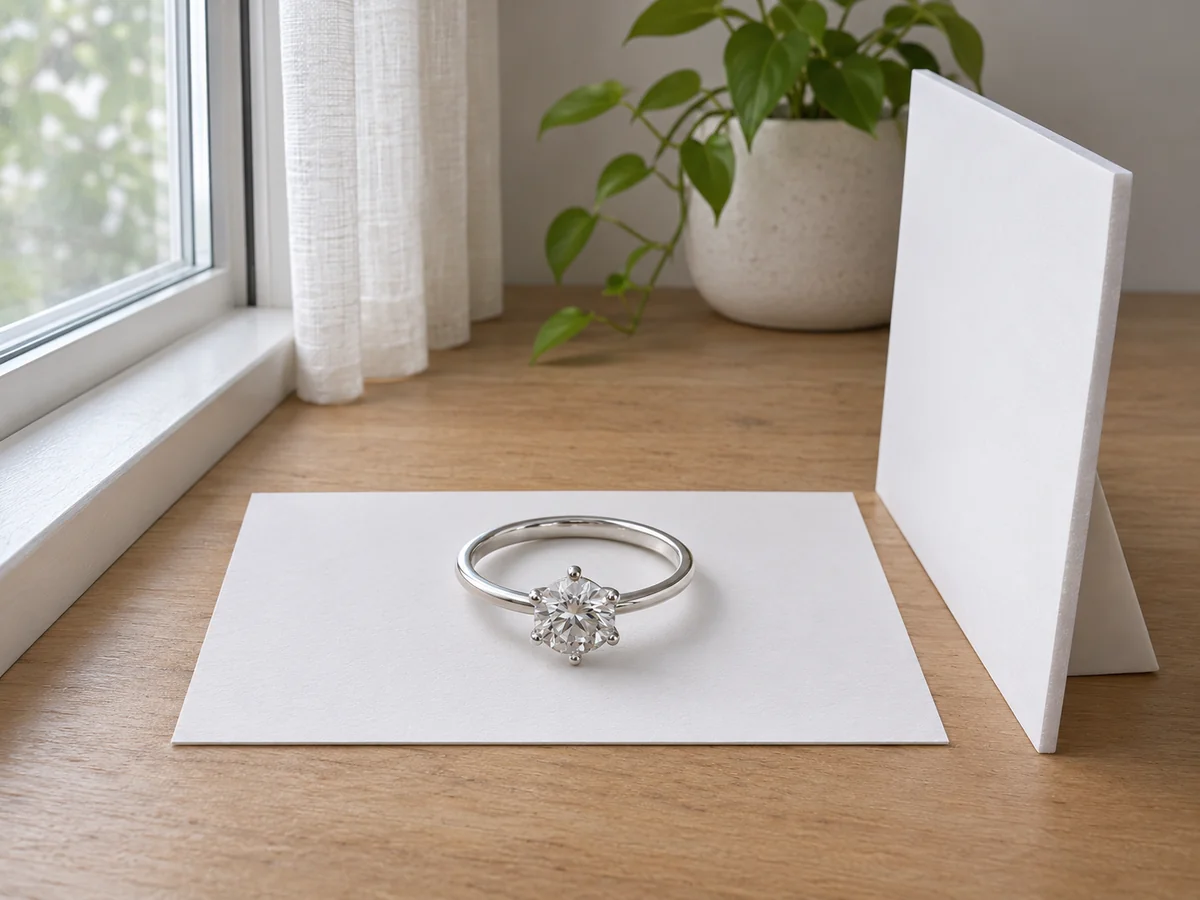
Reference images for the angles and the putty trick.
04
Five steps with a phone and household items.
Wipe the band and stone with a lint-free cloth. Oil from fingers dulls facets and shows at close range.
Press a pea-sized piece of jewelry putty behind the band, or use a plain ring holder, so the ring stands on its own facing the camera.
Place the ring a step or two from a window with indirect light. Put a white card opposite the window to lift the shadow side of the band.
Rest the phone on something stable, tap and hold on the stone to lock focus and exposure, then lower the exposure slightly to protect highlights.
Take a three-quarter, a face-up and a side profile, several frames each. Keep the sharpest of each and leave one untouched as your record.
05
Adjust the setup for what makes each style special.
The stone sells the ring. Face-up and three-quarter shots matter most; a side profile shows setting height. A dark backdrop can make a clear stone sparkle more.
Without a stone, shape and finish are everything. Shoot the three-quarter and profile, and add a shot of the inside if it is engraved or comfort-fit.
Large faces can reflect the camera. Turn the ring slightly so the face catches soft light instead of a reflection of the phone.
Shoot the stack as sold, then each ring alone. Buyers want to know exactly how many rings arrive.
Colored stones shift with light. Shoot in neutral daylight, avoid warm bulbs, and compare the stone color on screen with the real stone before you list.
Wide bands show their profile best from the side and at three-quarter. Light them softly so the broad surface does not become one large reflection.
Show honest wear, worn prongs and patina clearly; buyers of vintage rings expect it and will look for it in close-ups.
06
Before you publish
Ring photos make implicit promises about stone size, clarity and metal color. Avoid edits that change those, keep inclusions and wear visible where they exist, and state measurements and materials in the description rather than relying on the photo.
If you use AI to restage a ring photo, compare the stone shape, prong count and band width with the real ring before you publish.
Questions
Stand the ring upright with a little hidden putty, place it near a window with indirect light, bounce light into shadows with a white card, rest the phone on something stable, lock focus on the stone and shoot a three-quarter, a face-up and a side profile.
A three-quarter view, about 30–45 degrees above and slightly to the side, is the best first image because it shows the stone, setting and band together. Add face-up and side-profile shots for detail.
Use a pea-sized piece of jewelry putty or reusable adhesive behind the band, or a plain ring holder. Keep the support behind the ring so it does not show.
Use soft indirect light, surround the ring with white cards so the band reflects white instead of the room, and turn the ring slightly until your phone disappears from the reflection.
White or light gray for catalog images, a dark or velvet surface to make clear stones sparkle, and a natural surface such as wood or linen for a handmade feel. Keep one background per collection.
One real on-hand photo helps buyers judge scale, but product shots without a hand should come first. If you show a ring on a hand, note the ring size and finger in the description.
Turn flash off, avoid digital zoom, lock focus and exposure on the stone, lower exposure slightly, and use the self-timer. Portrait mode can blur the band edges, so use normal photo mode.
Shoot one clear three-quarter photo, then restage it at every angle and backdrop you need.
Open AI ring photography