Stones
A close-up can show facet pattern, color and how prongs grip the stone. It cannot reveal clarity, inclusions or grade that your photo does not resolve, and it must never be used as evidence of quality.
Jewelry Studio · Macro details
Buyers zoom in before they buy. Turn a sharp product photo into a close-up of the stone and setting, the metal finish, the clasp or the engraving, without inventing anything your photo does not show.
Updated · Image25 Jewelry Studio
15 credits · Fast · Medium · 1 image
Includes one reference photo. Every new generation costs 15 credits.
Email sign-in keeps your selection. Google sign-in leaves this page; reselect your photo and settings after returning.
Stone & setting
The main stone, prongs or bezel up close.
This jewelry macro photography tool turns a sharp photo of your piece into a close-up detail shot: stone and setting, metal texture, clasp or engraving. It only enlarges details visible in your photo and costs 15 credits per image.
01
Stone, texture and clasp close-ups made from full product photos.
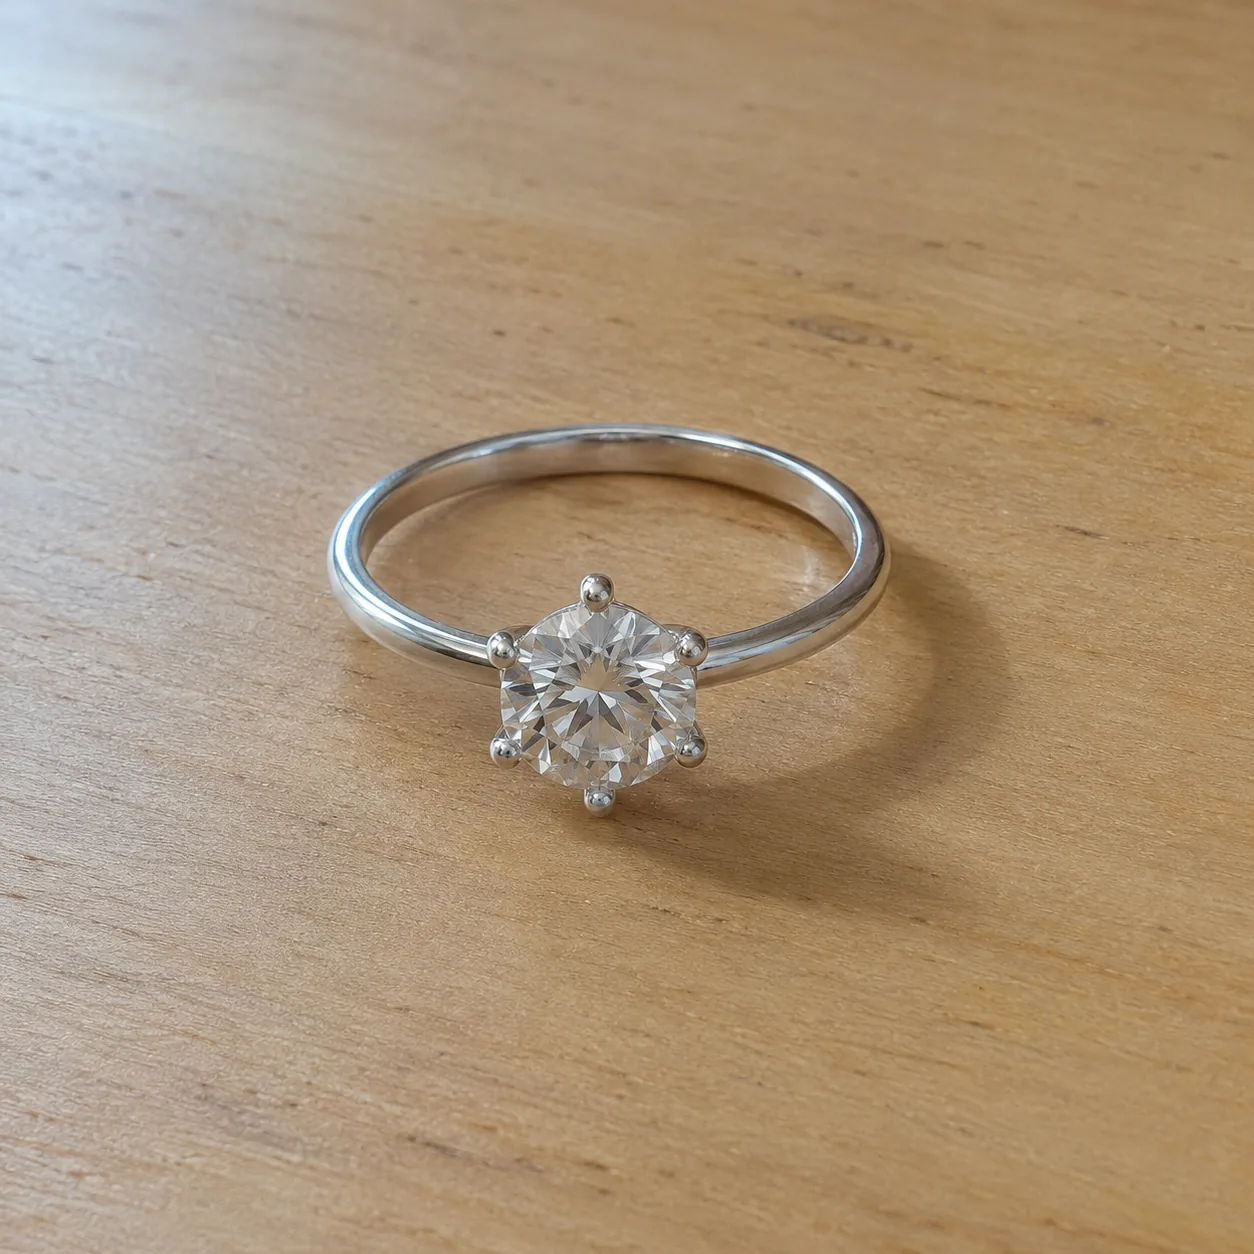 Before
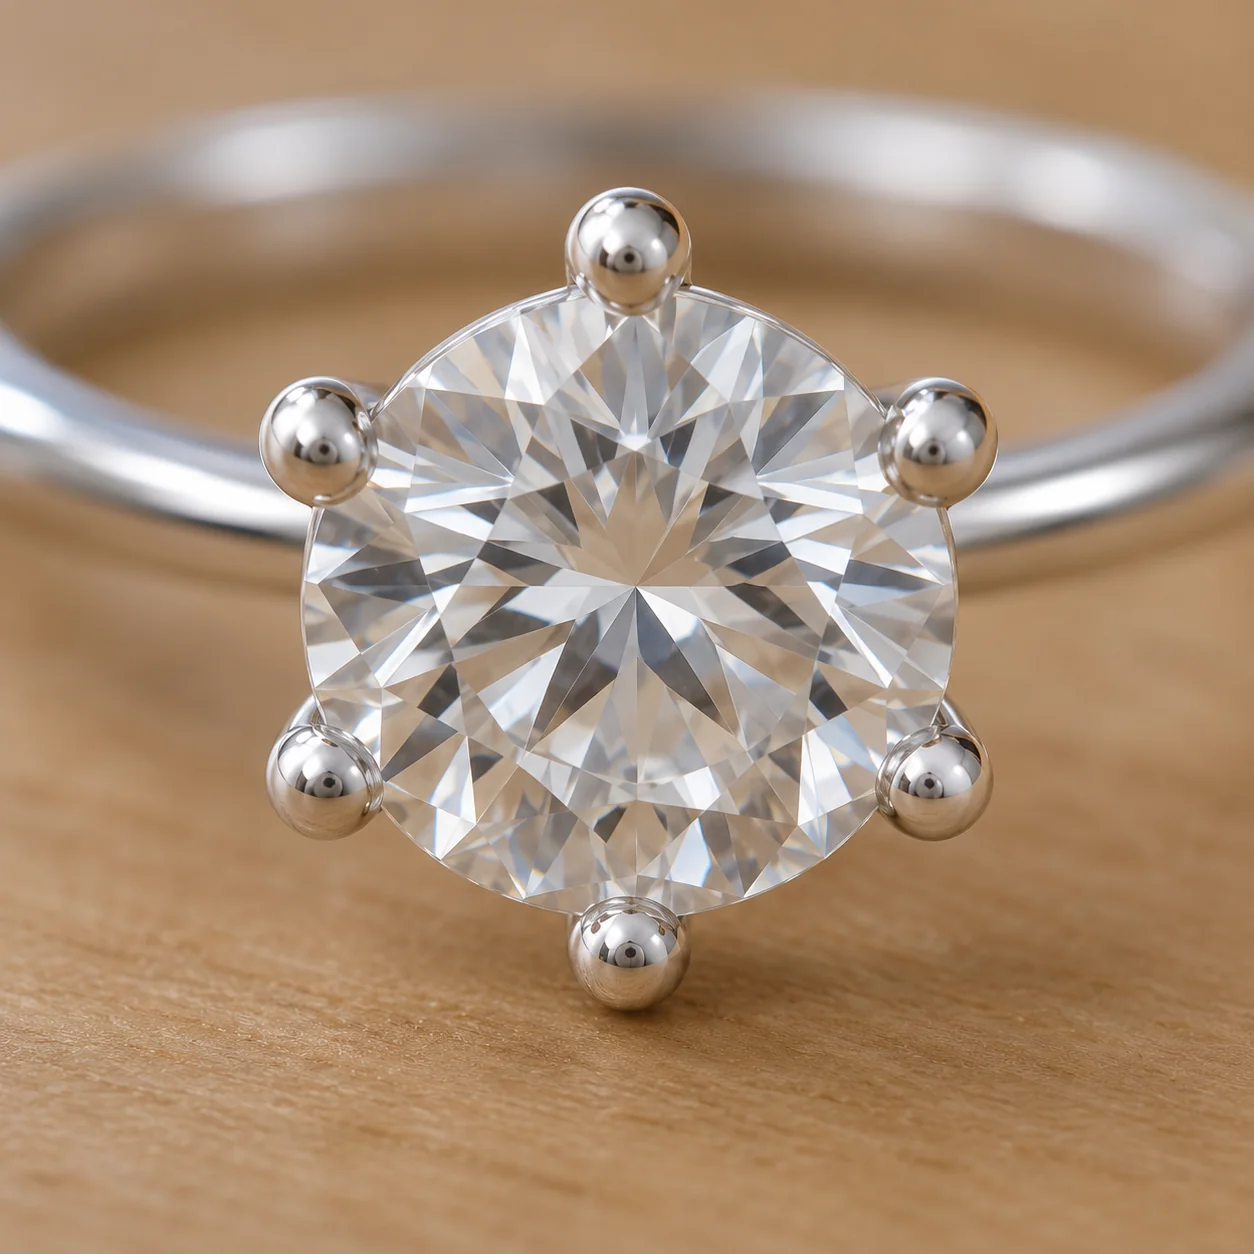 After
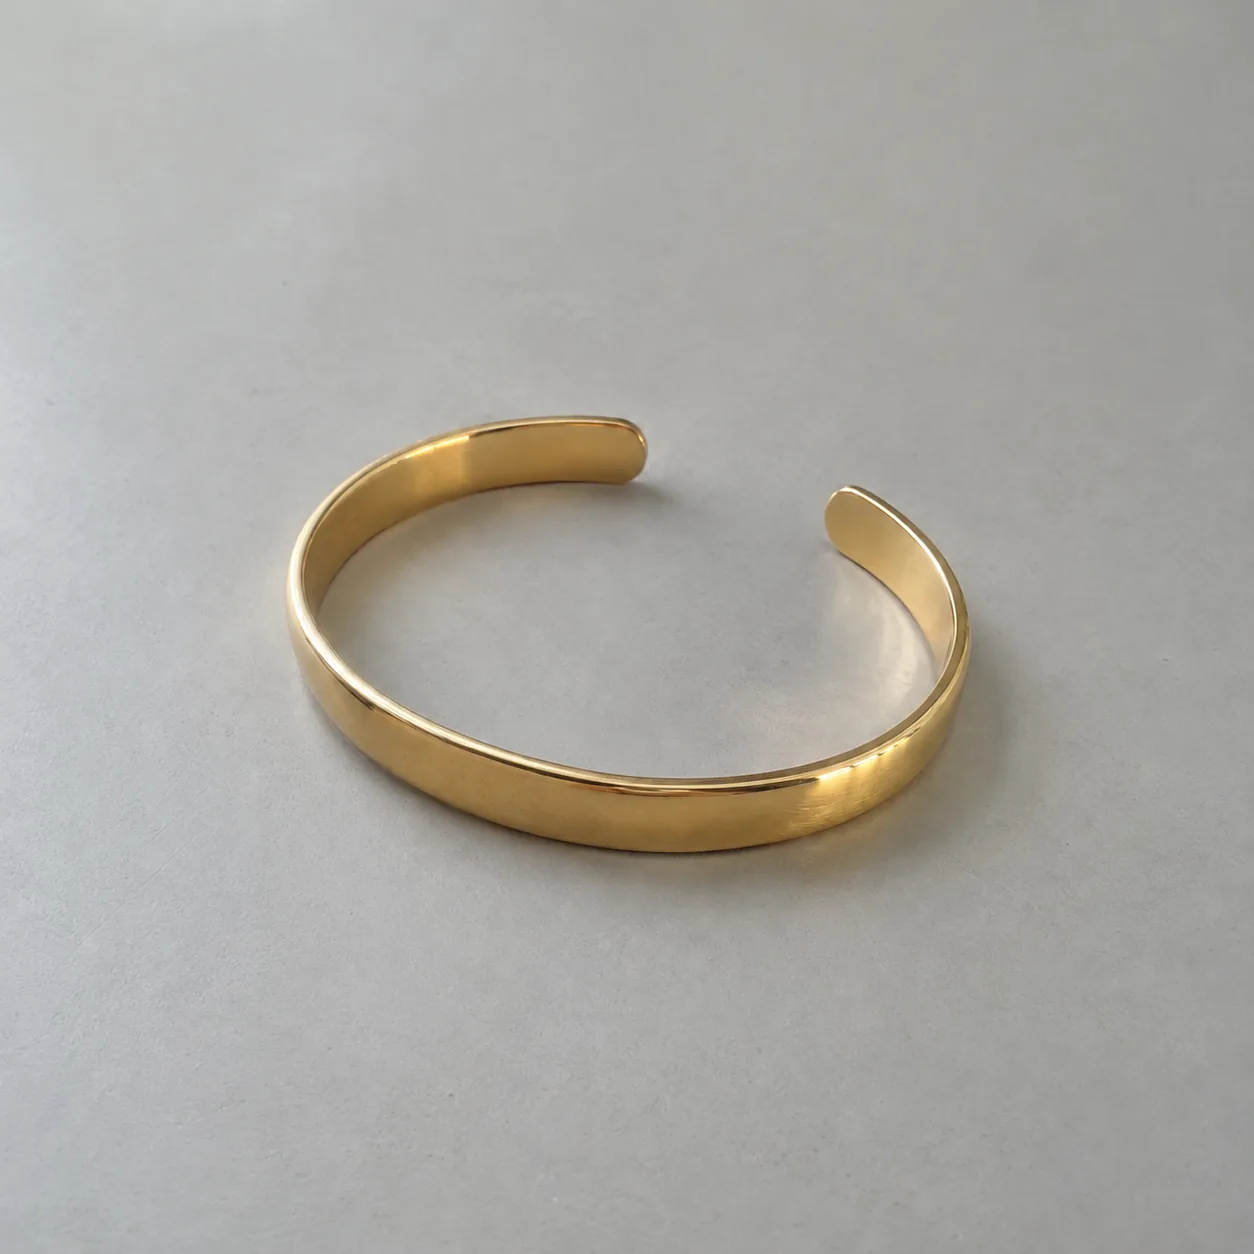 Before
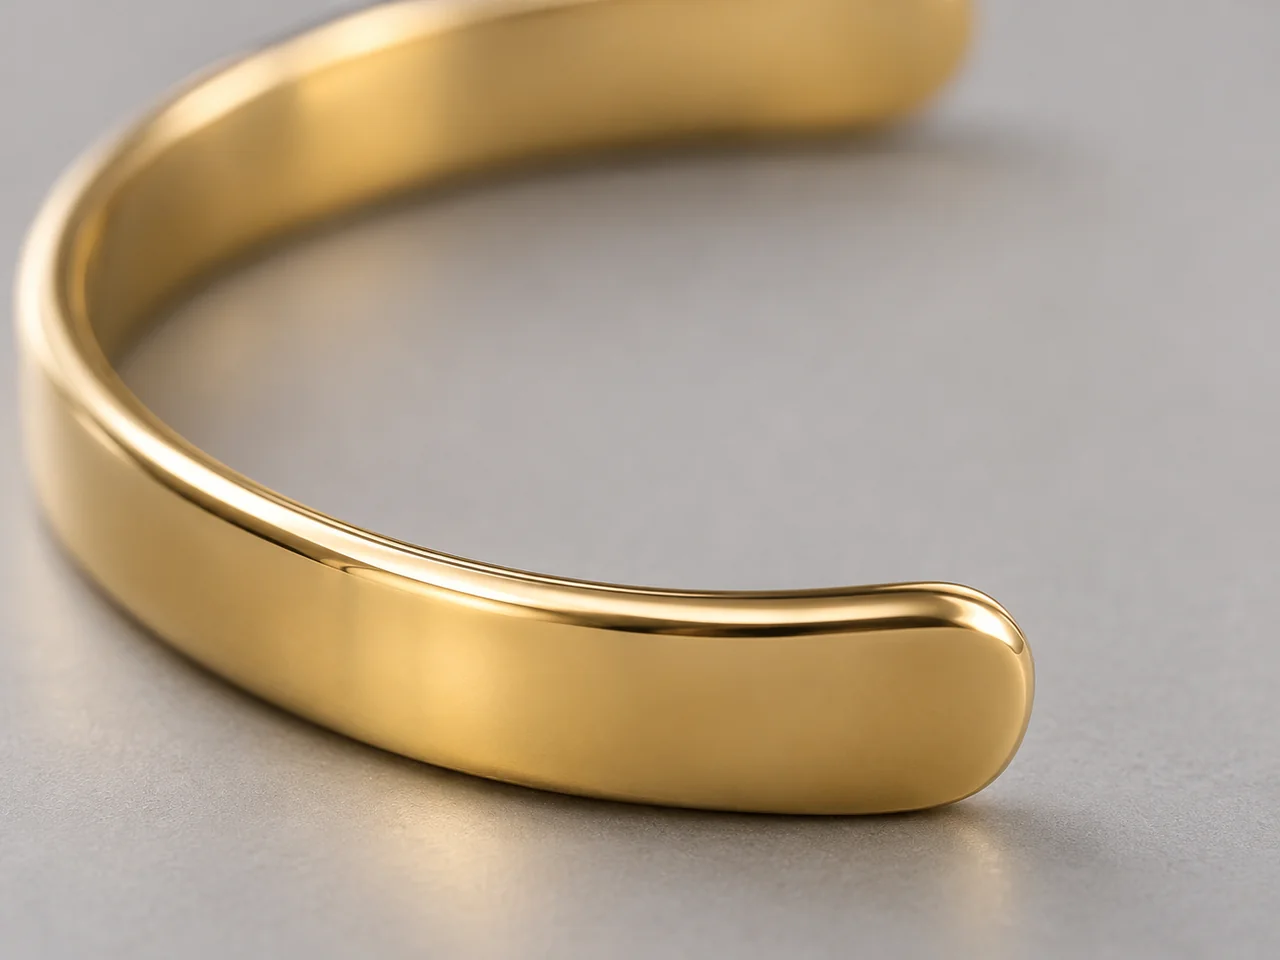 After
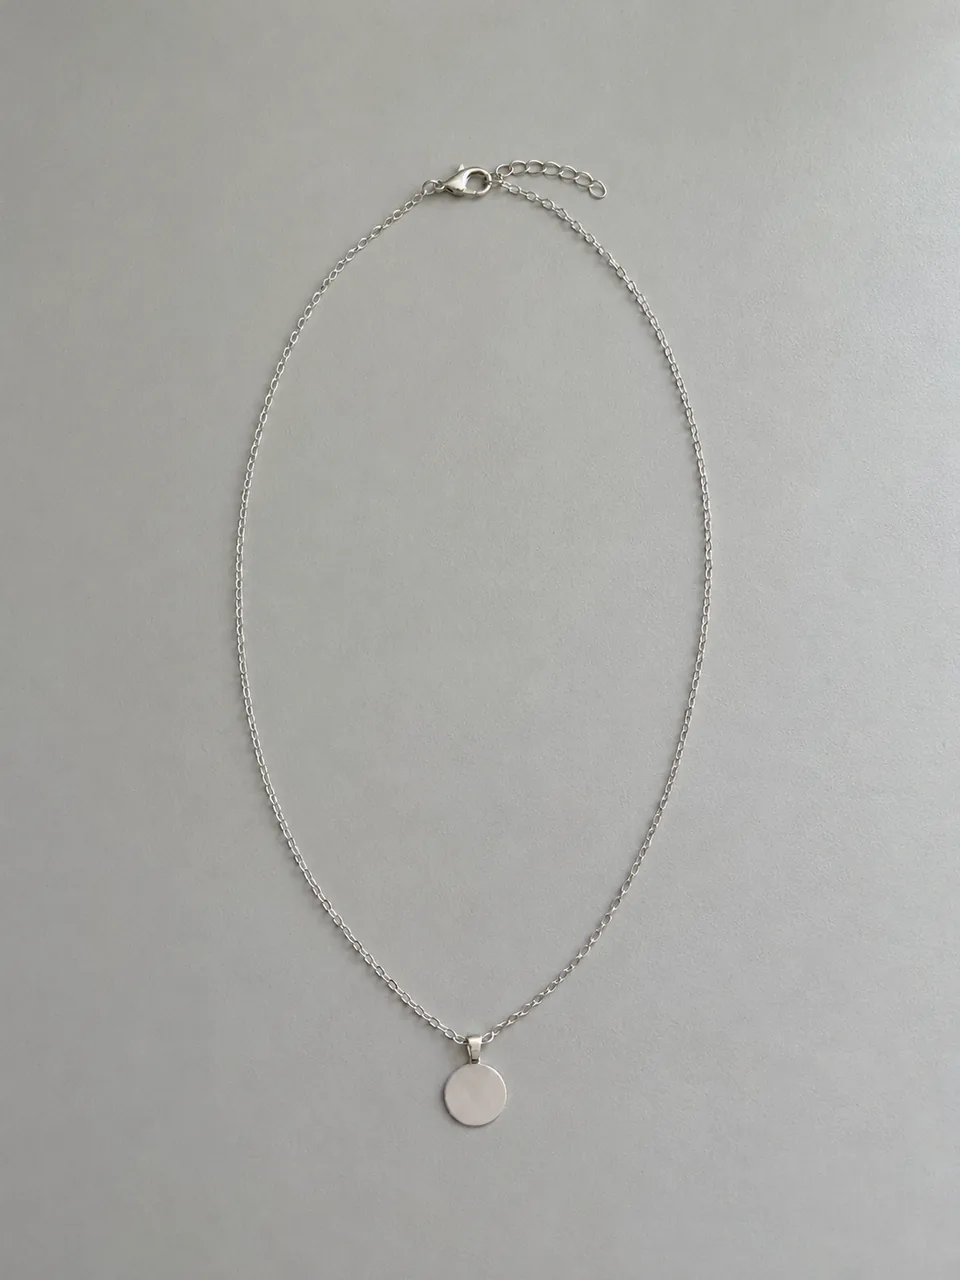 Before
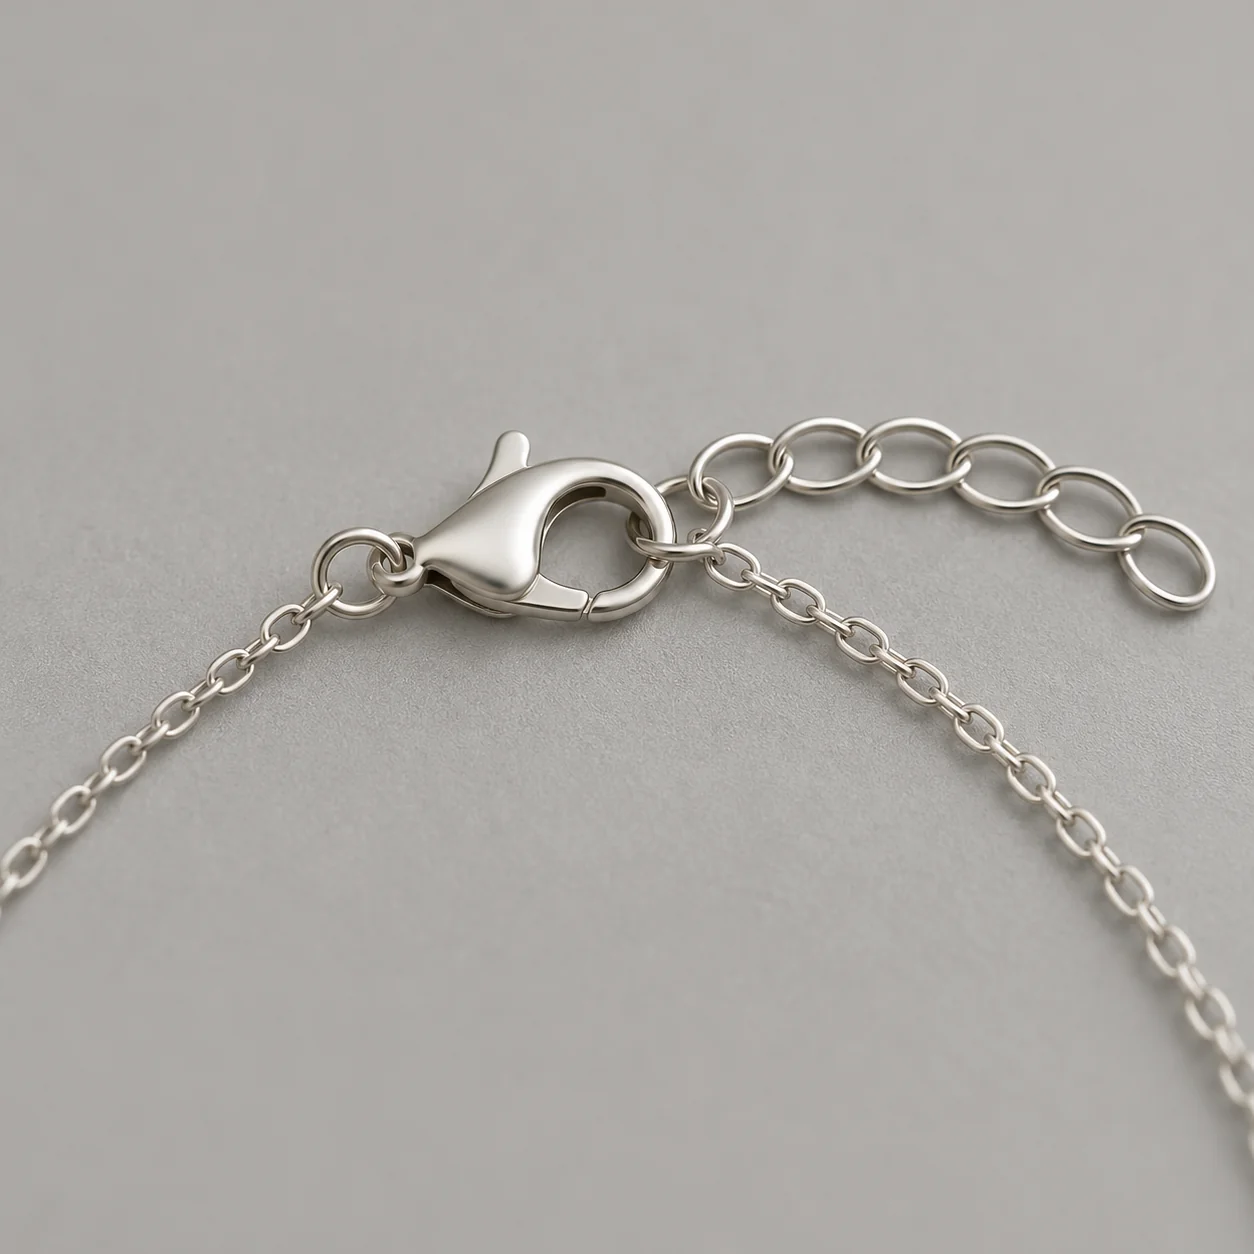 After
02
Macro photography shows a small subject at or near life size, so details invisible at arm’s length fill the frame: the facets of a stone, the tips of prongs, a hammered texture, the spring of a clasp. Traditionally it needs a macro lens, a tripod and careful focus.
This tool makes a close-up from a photo you already have. It treats your photo as the only evidence of the piece and enlarges a chosen area into a crisp detail view with a softly blurred surround, the look buyers expect from a macro shot.
The rule that makes it safe is simple: it never invents. If engraving is not readable in your photo, it cannot appear in the close-up; if the back of a setting was hidden, the detail stays on the visible side. That is why a sharp, well-lit source photo matters more here than on any other tool.
A close-up is only as honest as its source. Because the tool refuses to invent, it may soften a detail rather than sharpen it when the photo is not clear enough. That is the correct behaviour: a crisp but invented prong is worse than a slightly soft real one.
03
Choose a photo where the detail you want is in focus and evenly lit. Use one PNG, JPEG or WebP up to 20 MB. A blurry detail cannot become sharp without being invented.
Select Stone & setting, Metal texture, Clasp & mechanism or Engraving & marks, plus the jewelry type and a 1:1 or 4:3 frame. Add a note such as “focus on the six prongs”.
Open both images at full size and compare the detail itself: prong count, facet pattern, texture, clasp parts or letters. Download only close-ups that match. Each run is a separate paid generation.
04
Each detail answers a different buyer question.
| Detail | Answers | Needs in your photo | Best for |
|---|---|---|---|
| Stone & setting | Is the stone well set and clean? | The stone and prongs in focus | Engagement rings, gemstone pieces |
| Metal texture | What does the finish feel like? | The surface in soft, even light | Hammered, brushed and matte pieces |
| Clasp & mechanism | How does it close? | The clasp, hinge or post visible | Bracelets, necklaces, earrings |
| Engraving & marks | What is written on it? | Letters readable in the photo | Personalized and engraved pieces |
05
Close-ups magnify mistakes as well as details.
A close-up can show facet pattern, color and how prongs grip the stone. It cannot reveal clarity, inclusions or grade that your photo does not resolve, and it must never be used as evidence of quality.
Text is the riskiest detail. The tool reproduces only letters readable in your photo; check every character. Never let a generated close-up stand in for a hallmark or purity stamp.
Hammered, brushed and matte finishes enlarge well when the source light is soft. Harsh light in the source becomes harsh highlights in the close-up.
Clasps, hinges and posts are small and easy to redraw. Compare the type, shape and number of parts with your piece.
Pearls, wood and enamel show luster and grain rather than facets. Soft source light matters most here, because hot spots turn into blank white areas when enlarged.
06
07
Magnification makes small changes obvious; look closely.
| Check | Good result | Reject if |
|---|---|---|
| Prongs or bezel | Same count and shape as the piece | A prong added, missing or reshaped |
| Stone | Same shape, color and facet impression | The stone grew, changed cut or color |
| Text | Letters match the photo exactly | Any letter changed or invented |
| Texture | Same finish as the piece | Polished became hammered or the reverse |
| Mechanism | Same clasp, hinge or post type | Parts added, merged or missing |
08
A setting close-up shows how the stone is held, which buyers check before spending more.
Example: a six-prong solitaire shown face-on and close.
Hand finishing is a selling point that disappears at thumbnail size.
Example: a hammered silver band enlarged to show the strikes.
A detail of the clasp reduces questions about how a piece fastens.
Example: a lobster clasp and extender on a necklace.
Readable engraving reassures buyers ordering a custom piece.
Example: an initial pendant enlarged with its letter checked.
09
A close-up works best as one image in a set, not on its own.
Lead with a clear product photo so buyers know what they are looking at before they zoom in.
Use a stone close-up for engagement rings, a clasp close-up for bracelets and a texture close-up for handmade metalwork.
A close-up taken from a white-background photo sits naturally next to other white images in the same listing.
If the source has dust or glare, clean it with the photo editor first. Magnification makes every speck larger.
Before you publish
AI may still alter tiny prongs, facets or letters while enlarging them. Compare every close-up with your original at full size and reject anything that differs.
Never use a generated close-up as evidence of gemstone grade, clarity, treatment, metal purity or hallmarks. Photograph the real piece with a macro lens when a buyer needs proof.
Questions
You can make a close-up detail shot from a sharp, normal photo. The tool enlarges a chosen detail with a macro look. It cannot add detail your photo does not contain, so for inspection-grade evidence a real macro lens is still the right tool.
Only if the engraving is readable in your photo. The tool is told to reproduce visible letters exactly and never invent text. Check every character in the result before you use it.
The stone and its setting, a distinctive metal texture, the clasp or closure, and engraving. Pick the one detail buyers ask about most for each piece.
No. A generated close-up is a presentation image, not evidence of clarity, grade, treatment or certification. Use lab reports and real photos for those claims.
Use 1:1 for stones and engraving, which are compact, and 4:3 for textures and clasps that run sideways.
Engagement and gemstone rings, where buyers judge the setting, and handmade pieces, where texture is the selling point. Chains and clasps follow, because buyers want to see how a piece fastens.
Each image costs 15 credits on the default Fast setting, including your reference photo. New accounts that use Google sign-in or a Gmail address get 20 free credits, enough for one image. Free-credit images carry a watermark and are for personal use; use paid credits for store and marketplace images.
Your upload is private and scheduled for deletion after one day. On a free account, generated images stay in My Creations for 14 days; paid plans and credit packs keep them longer.
Upload your sharpest photo, choose the detail and compare the close-up with the real piece.
Upload a sharp photo