Fine chains
Use contrast and soft side light so each link catches a highlight. Shoot slightly darker than the phone suggests to keep the chain from blowing out.
Guide · Necklace photography
A necklace is long, thin and easy to tangle, and its most important details sit at opposite ends. This guide explains how to photograph necklaces so buyers see the chain, clasp and pendant.
Published · Updated · Image25 Jewelry Studio
Try AI necklace photographyTo photograph necklaces, lay the chain in a smooth oval or soft U with the clasp visible, shoot straight down in soft light, then take a closer pendant shot and, for chokers or long chains, a hanging or bust-form shot. Measure the length rather than relying on the photo.
01
Necklaces combine a long, thin chain with a small focal point. Fit the whole chain in the frame and the pendant becomes tiny; zoom in on the pendant and the chain disappears. Fine chains also blend into similar backgrounds and twist the moment you move them.
Buyers want to know four things: the chain style, how it closes, what the pendant looks like and how it hangs when worn. A strong necklace listing answers each with its own image.
Layout does most of the work. A chain laid in a smooth shape with the clasp visible looks deliberate and lets the buyer follow it end to end.
02
Pick the layout by what the image needs to show.
| Layout | How to set it up | Shows | Best for |
|---|---|---|---|
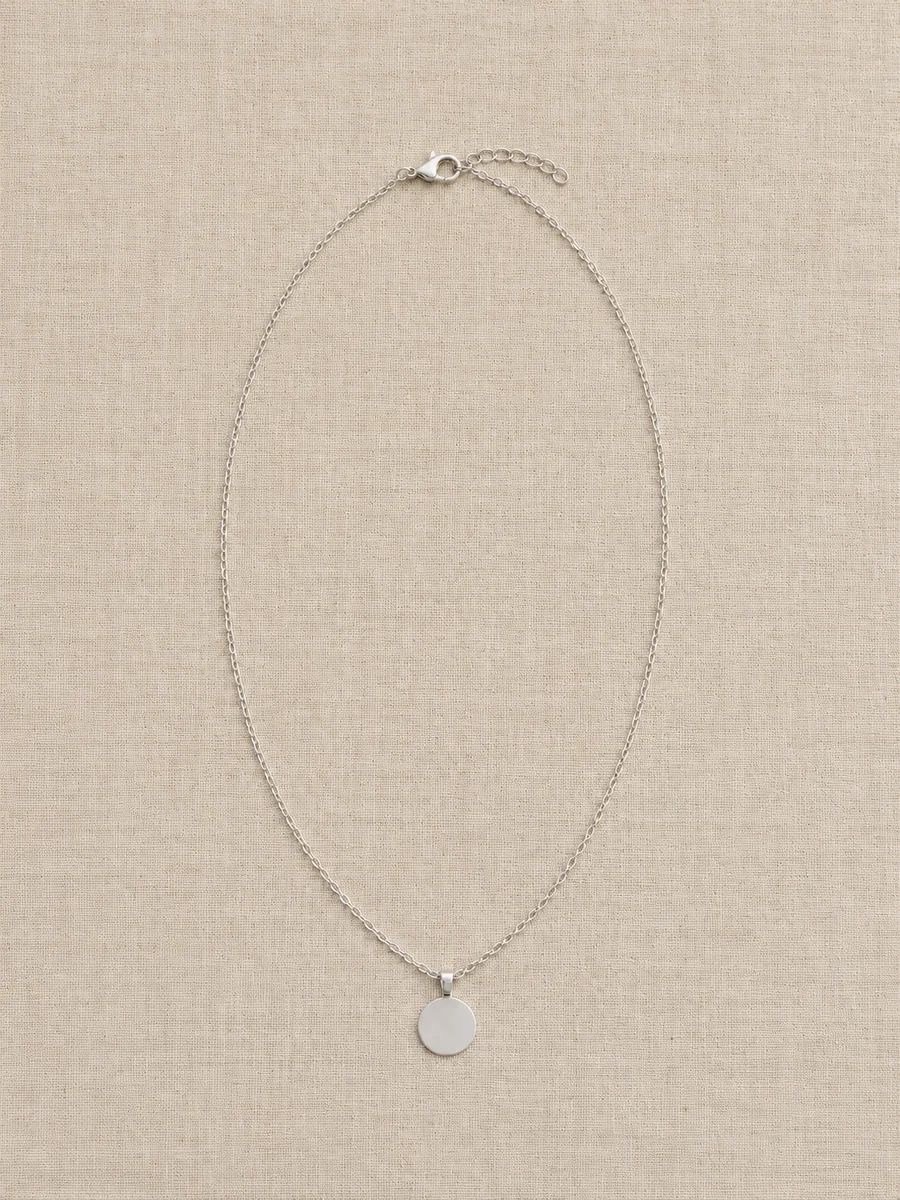
| Oval | Chain in a smooth oval, pendant at the bottom, clasp at the top | The whole necklace | First listing image |
| Soft U | Chain in a U shape like a neckline | Shape when worn | Pendants and chokers |
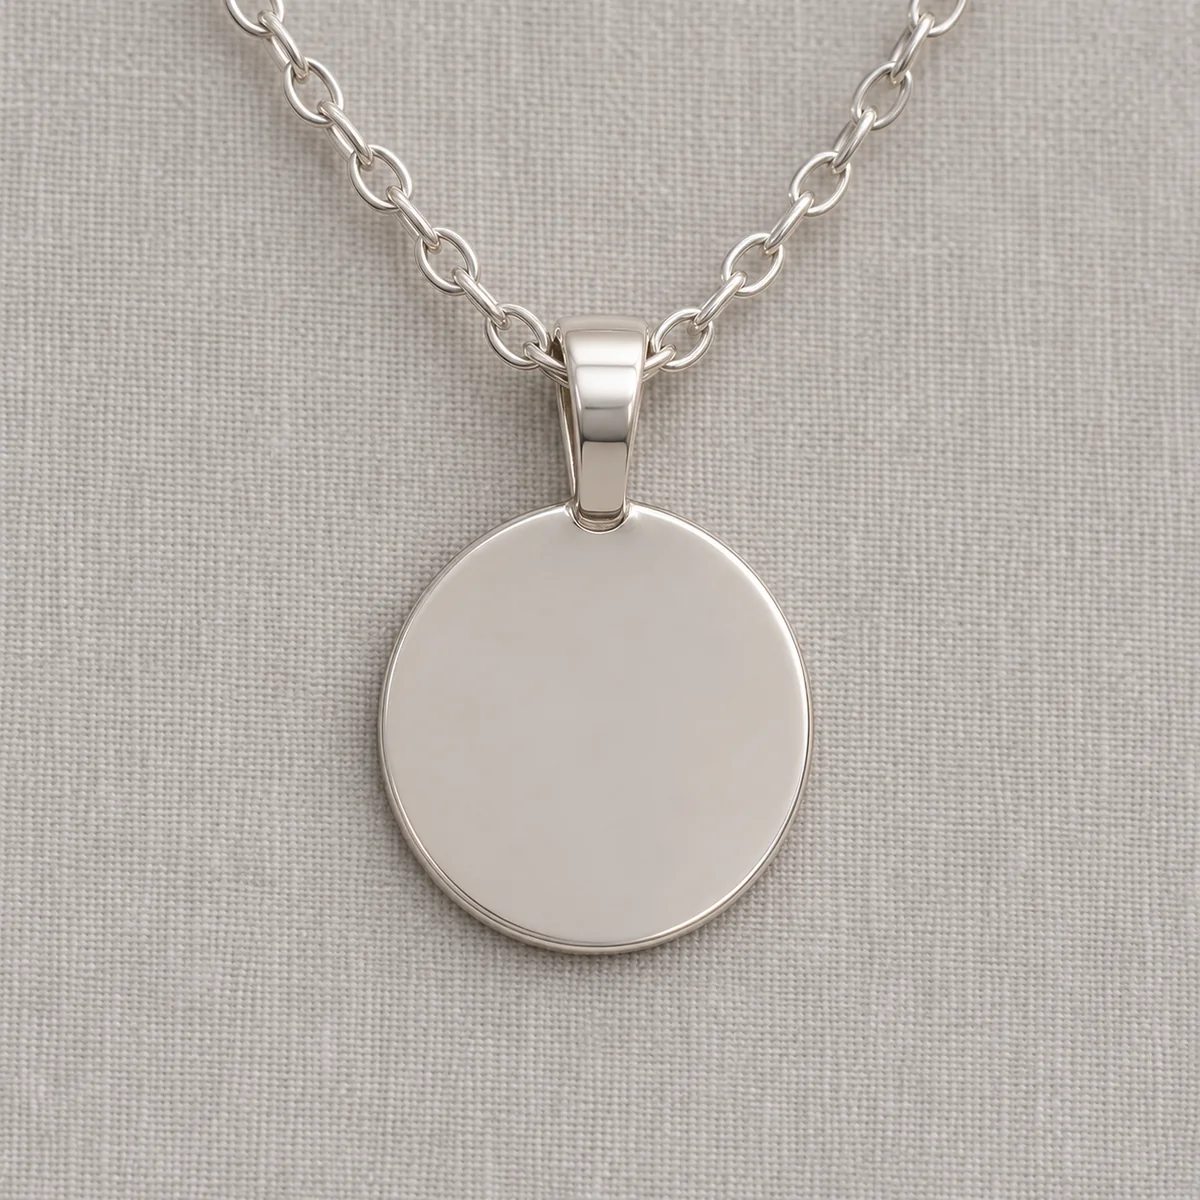
| Pendant close-up | Pendant centered, chain leaving the frame | Pendant face and bail | Detail image |
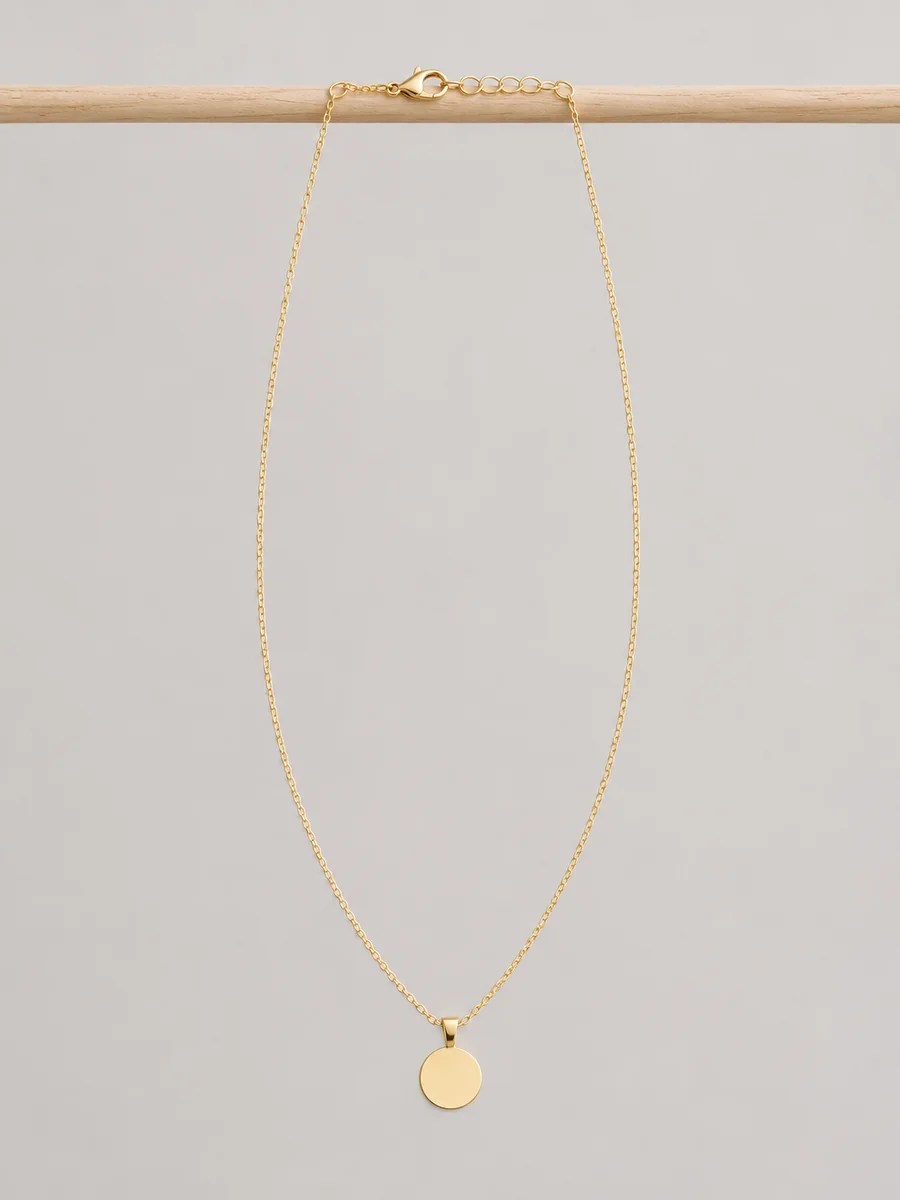
| Hanging | Clasp hooked on a plain bar or edge | Drop and length | Long chains and lariats |
03
Reference images for the three most useful layouts.
04
Lay the chain out straight, work out any twists and wipe the pendant. Twists show clearly from above and look careless.
Use a darker surface for silver and fine gold chains, a light one for dark metals. Fine chains vanish on surfaces of the same tone.
Shape the chain into an oval or soft U, place the clasp where it is visible, and shoot straight down so the chain does not taper.
Move closer for a pendant shot, then hang the necklace from a plain bar or drape it on a bust form to show how it falls.
Measure the chain end to end, including the clasp, and write the length in the listing. Photos cannot show length reliably.
05
Use contrast and soft side light so each link catches a highlight. Shoot slightly darker than the phone suggests to keep the chain from blowing out.
Center the pendant and make sure it lies flat. Show the back if it is engraved or has a hallmark.
Short, rigid pieces look flat when laid down. A plain bust form shows the curve they make when worn.
Space the strands so each one is visible, and show each necklace alone as well so buyers know what is included.
Show the locket closed for the main image and open in a second photo if the inside is part of the appeal. Keep the hinge visible in both.
Beads roll, so lay strands on a slightly textured surface such as linen. Keep the knotting and clasp visible, since buyers check both.
Every letter must be readable. Shoot straight on to the nameplate and check spelling in the photo before you list.
For plain chains, the clasp and link pattern are the product. Add a close view of a short section of chain beside the clasp.
06
Before you publish
Photos show style and shape; they cannot prove length, metal purity or stone type. Put measured length, materials and closure type in the description.
If you use AI to restage a necklace photo, follow the chain end to end in the result and check the pendant, bail and clasp against the real piece.
Questions
Lay the necklace in a smooth oval with the clasp visible on a contrasting surface, shoot straight down in soft light, then add a pendant close-up and a hanging or bust-form shot. Measure the length and state it in the listing.
A smooth oval with the pendant at the bottom and the clasp at the top shows the whole piece. A soft U shape suggests how it sits on the neck. Avoid straight lines and twists.
Use a darker surface for contrast, soft side light so the links catch highlights, and slightly lower exposure so the chain does not blow out. Shoot from directly above.
A real on-model photo helps buyers judge length and scale, but lead with product shots. If you show it worn, note the necklace length in the description.
Hanging the necklace from a bar or showing it on a bust form suggests drop, but photos cannot prove length. Measure the chain and write the length in the listing.
One that contrasts with the chain: darker for silver and fine gold, lighter for dark metals. Linen, paper and stone all work; keep one per collection.
Hold the necklace by the clasp and let it hang straight before laying it down, work out twists from the clasp end, and lay it onto the surface in one smooth movement. A soft surface such as linen keeps chains from sliding.
Lay out one clean oval photo with the clasp visible, then restage it in every layout you need.
Open AI necklace photography