It estimates from the photo
A product photo has no reliable sense of size. A 5 mm stone and a 9 mm stone can look identical in a close-up, so the model guesses from typical rings.
Guide · On-model rings
Ring-on-hand product photos are some of the most persuasive images in a ring listing, and some of the hardest to arrange. This guide shows how to make them from a product photo, and how to check them so they stay honest.
Published · Updated · Image25 Jewelry Studio
Open AI Ring on HandTo make ring-on-hand product photos without a hand model, start from a sharp product photo of the ring alone, generate a worn image with a chosen pose and finger, then check the stone, prongs, band and scale against the real ring. Keep a real product photo first and state the ring size in words.
01
A ring on its own shows the design. A ring on a hand shows how it will look on the buyer: how wide the band is against the knuckles, how high the setting rises and whether the stone reads as delicate or bold. Many buyers will not commit to a ring until they have seen it worn.
The traditional answer is a hand model or your own hand, a clean manicure, a steady setup and patience. That works, and a real photo of the real ring on a real hand remains the most trustworthy image you can offer. But for a growing catalog, a new design or a one-off piece, arranging a hand shoot for every ring is often not practical.
Generated worn images fill that gap. The hand is generated, the ring is taken from your product photo, and the result shows the look of the ring when worn. The trade-off is accuracy: the model estimates scale and can change small details, so every image needs a check before it goes into a listing.
02
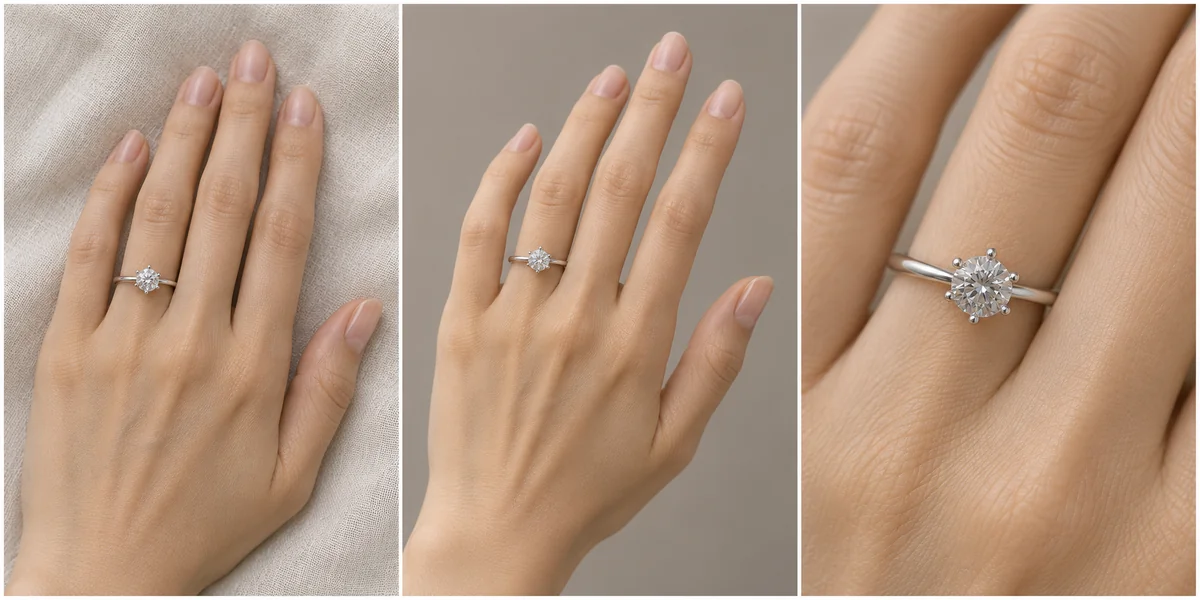
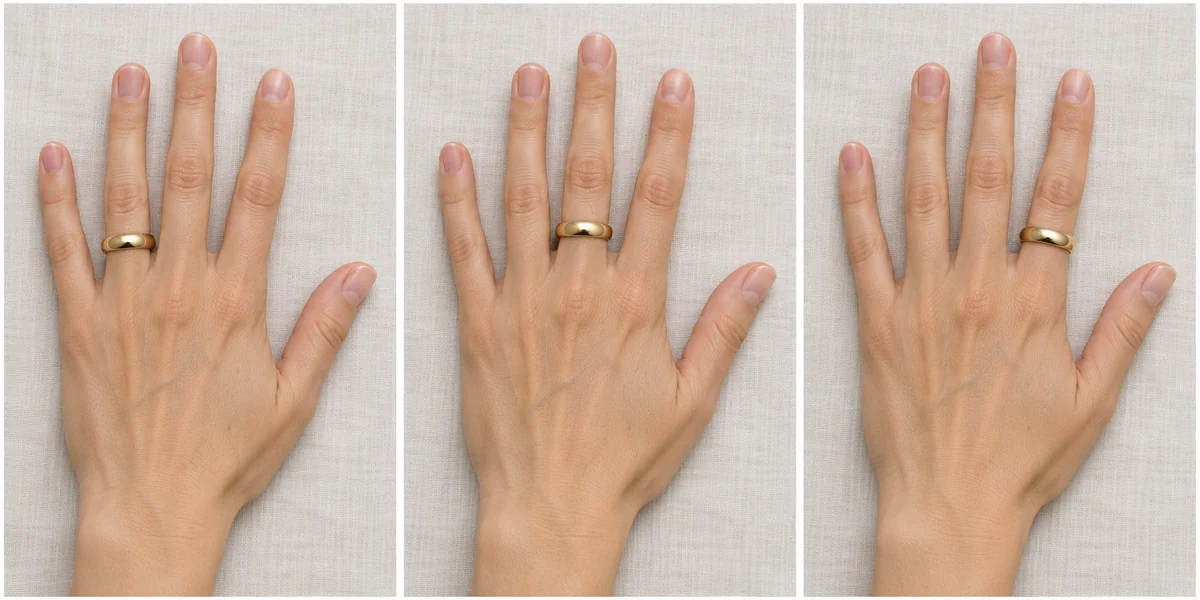
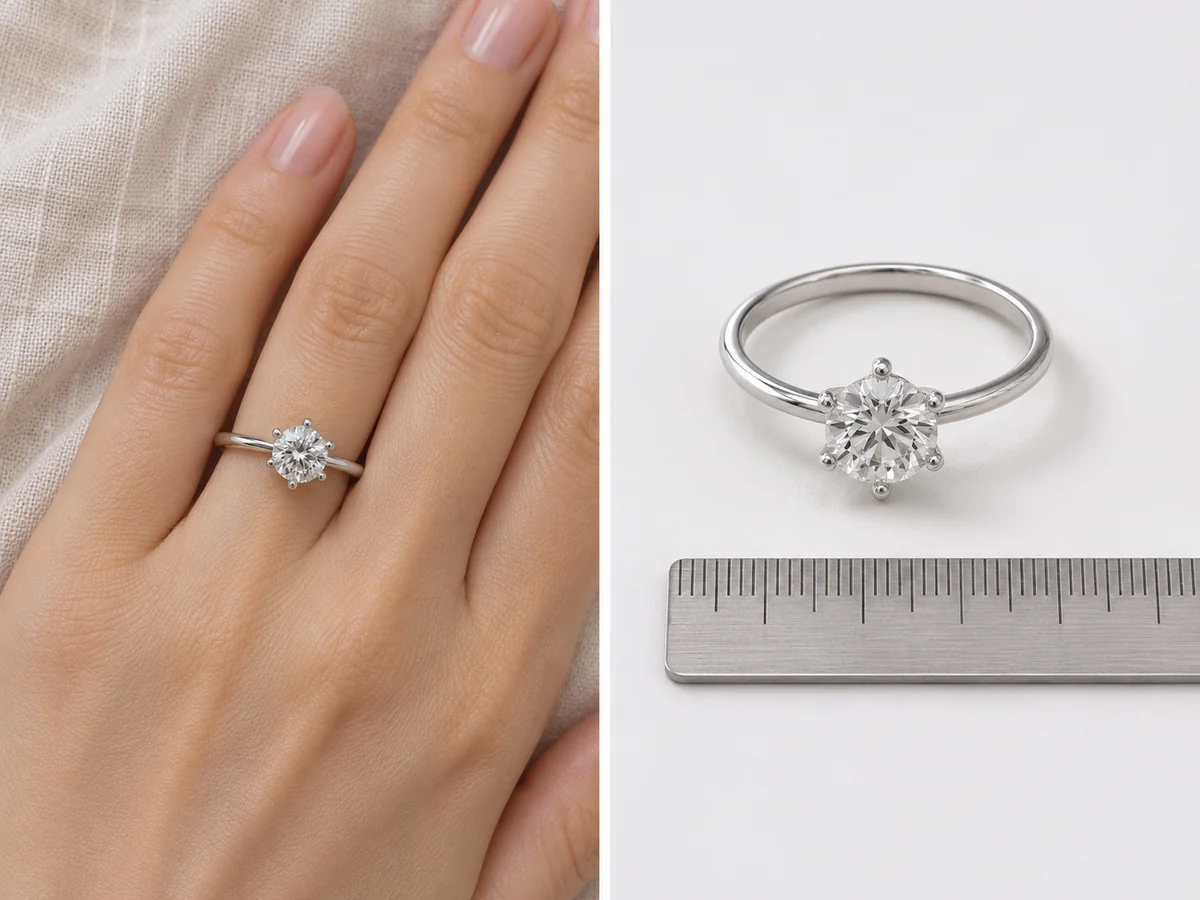
Reference images for the choices this guide covers.
03
Five steps, from the source photo to the listing.
Stand the ring upright or at a three-quarter angle so the stone, prongs and band are all visible. Use soft window light and a plain background. This photo is the identity source; anything it does not show, the worn image cannot show accurately.
A resting hand gives a calm second image, a raised hand suits engagement and statement rings, a finger close-up shows prongs and band width, and an everyday pose such as holding a cup suits daily-wear bands.
Ring finger for engagement rings and most solitaires, middle finger for cocktail rings, index finger for signets and bold bands, little finger for pinky and midi rings. The wrong finger sets the wrong expectation.
Compare the stone shape and color, count the prongs, follow the band around the finger and judge the scale. Reject anything the buyer will not receive.
Lead the listing with a real product photo. Add one or two worn images after it, and state the ring size, band width and stone size in the description.
04
Run these checks on every generated worn image.
| Check | Look for | Common failure |
|---|---|---|
| Stone | Same shape, color and facet pattern | An oval turns round, a colored stone shifts tone |
| Prongs | Same number and style | Six prongs become four or merge into a bezel |
| Band | Same width and profile, wrapping the finger | The band thins, splits or floats above the skin |
| Accent stones | Same count and placement | Extra stones appear on the shoulders |
| Scale | Plausible beside the knuckles | A small solitaire looks like a statement ring |
| Hand | Five natural fingers, relaxed joints | Fused or extra fingers, bent nails |
05
The model does not know how big your ring is.
A product photo has no reliable sense of size. A 5 mm stone and a 9 mm stone can look identical in a close-up, so the model guesses from typical rings.
The generated hand is an average adult hand. Buyers with smaller or larger hands will see the ring differently on their own.
Photograph the ring next to a ruler or a coin. Compare the generated image with it; if the ring looks much larger or smaller relative to the finger, regenerate.
State ring size, band width and stone size in the description. Text is where size belongs; no image proves it.
06
07
Generated images are not the right tool for every ring.
Micro pavé, filigree and very small accent stones are where generated details drift most. A real photo is safer.
Several rings on one hand multiply the chances of error. Photograph stacks for real when you can.
When buyers decide mainly on size, such as thin midi rings, a real hand photo next to a stated size is more honest.
Some marketplaces require at least one real, unedited photo. Generated worn images can only be supporting images there.
Before you publish
A worn image that looks better than the ring will cost you a return and a review. The goal is an image that shows the look of the real ring, at a plausible size, with every visible detail correct.
If you cannot make a generated image match the ring, use a real photo instead. A plain, accurate photo always beats an impressive, inaccurate one.
References
Checked on . Platform rules change; confirm the current policy before you rely on it.
Primary source for the real, unedited photo requirement and for supporting images that must accurately represent the item.
Questions
Yes. Start from a sharp product photo of the ring alone, generate a worn image with a chosen pose and finger, and check the stone, prongs, band and scale against the real ring before using it.
A raised hand on the ring finger suits engagement and statement rings; a resting hand suits everyday rings. Add a finger close-up when buyers care about prongs and band width.
Not necessarily. The model estimates scale from your photo and an average hand. Compare the result with a photo of the ring next to a ruler and state the size in your listing.
No. Lead with a real product photo and use worn images as supporting images. Some marketplaces require at least one real, unedited photo.
Prong count, accent stones and band width. Check each one against your ring and reject the image if any differ.
Check your marketplace’s current rules. Some require disclosure of AI-assisted images, and none allow images that misrepresent the item.
Upload a sharp product photo, choose a pose and a finger, and check every detail before the image goes live.
Open AI Ring on Hand